
Buns of Steel
Buns of Steel
A Football Life
Want a Spicier Take? Need a Little Encouragement? Try Changing the Tone of your Report!
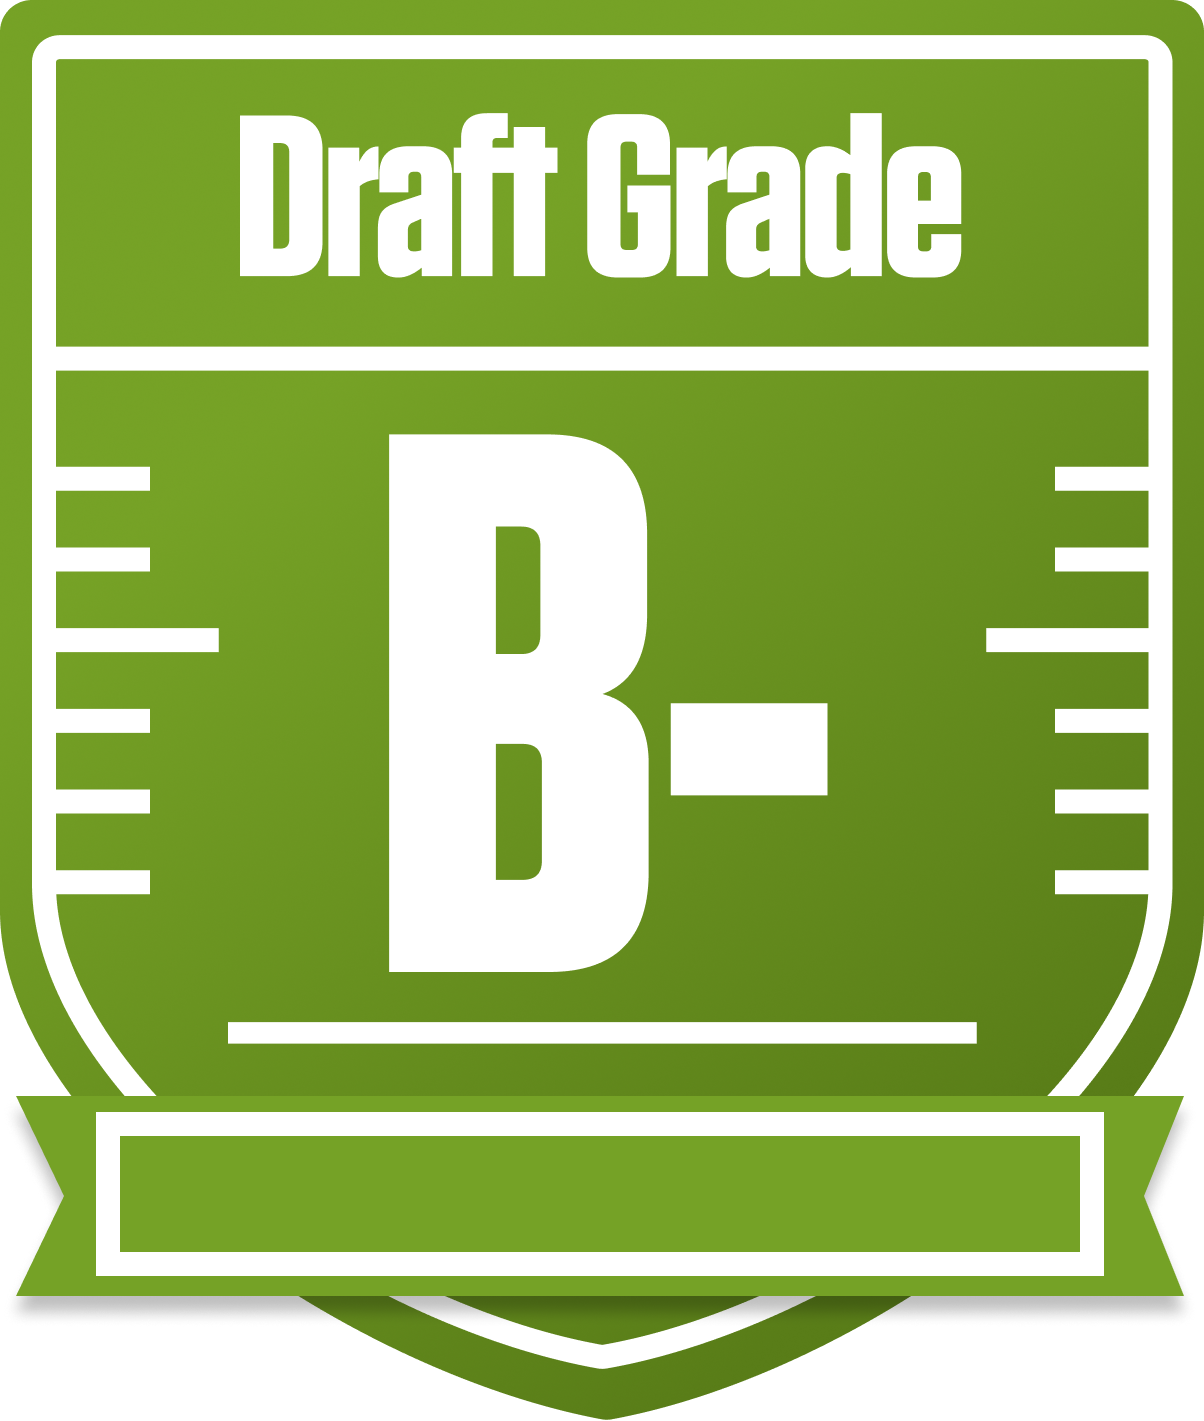
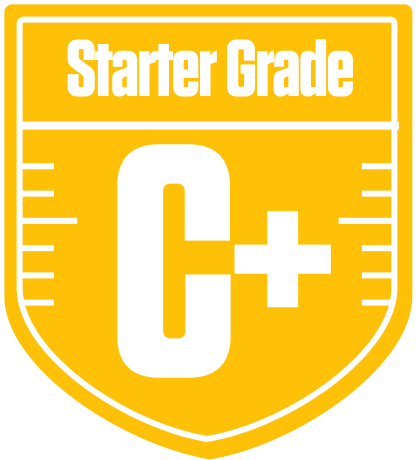

Your Draft Report Card Is Here, Buns of Steel - Let's Break Down How You Did
Well now, Buns of Steel in the A Football Life league has put together a solid B- overall grade this season, showing a team with some real strengths but also a few glaring holes. This 12-team redraft league with standard roster settings and some unique scoring quirks like first down bonuses and return yards means every yard counts, and your team’s construction reflects a smart approach to maximizing those points. Your projected starters are putting up a respectable 106 points per week, with bench depth adding a nice boost to your overall scoring potential.
Your team’s wide receiver group shines bright, while your tight end and kicker spots are dragging you down. Playoff chances hover in the middle of the pack, so there’s room to maneuver and improve. We’ll dive into your positional breakdowns, bye week challenges, and strategic moves you can make to push this team from good to great. Let’s get into the nitty-gritty and see how you can turn those Buns of Steel into a fantasy force to be reckoned with this season!
Your Grades By Position
Quarterback


Running Back
Wide Receiver
Tight End


Team Defense

Kicker
Quarterback
Running Back
Wide Receiver
Tight End
Team Defense
Kicker
Playoff Chances
{"type":"doughnut","data":{"labels":["Make the Playoffs","Miss the Playoffs","Make the Playoffs","Miss the Playoffs","Make the Playoffs","Miss the Playoffs"],"datasets":[{"label":"Great Management","data":[64,36],"backgroundColor":["#3b82f6","#6c757d"],"borderWidth":3,"borderColor":"#fff"},{"label":"Good Management","data":[53,47],"backgroundColor":["#22c55e","#6c757d"],"borderWidth":3,"borderColor":"#fff"},{"label":"Average Management","data":[43,57],"backgroundColor":["#fbbf24","#6c757d"],"borderWidth":3,"borderColor":"#fff"}]},"options":{"responsive":true,"maintainAspectRatio":false,"backgroundColor":"transparent","cutout":"40%","plugins":{"legend":{"display":false},"tooltip":{"enabled":true,"backgroundColor":"rgba(0,0,0,0.8)","titleColor":"#fff","bodyColor":"#fff"}},"elements":{"arc":{"borderWidth":3,"borderColor":"#fff"}}}}
Position Upside Potential
Breakout potential by position - more stars indicate greater upside opportunity