
Team Massimini
Team Massimini
A Football Life
Want a Spicier Take? Need a Little Encouragement? Try Changing the Tone of your Report!
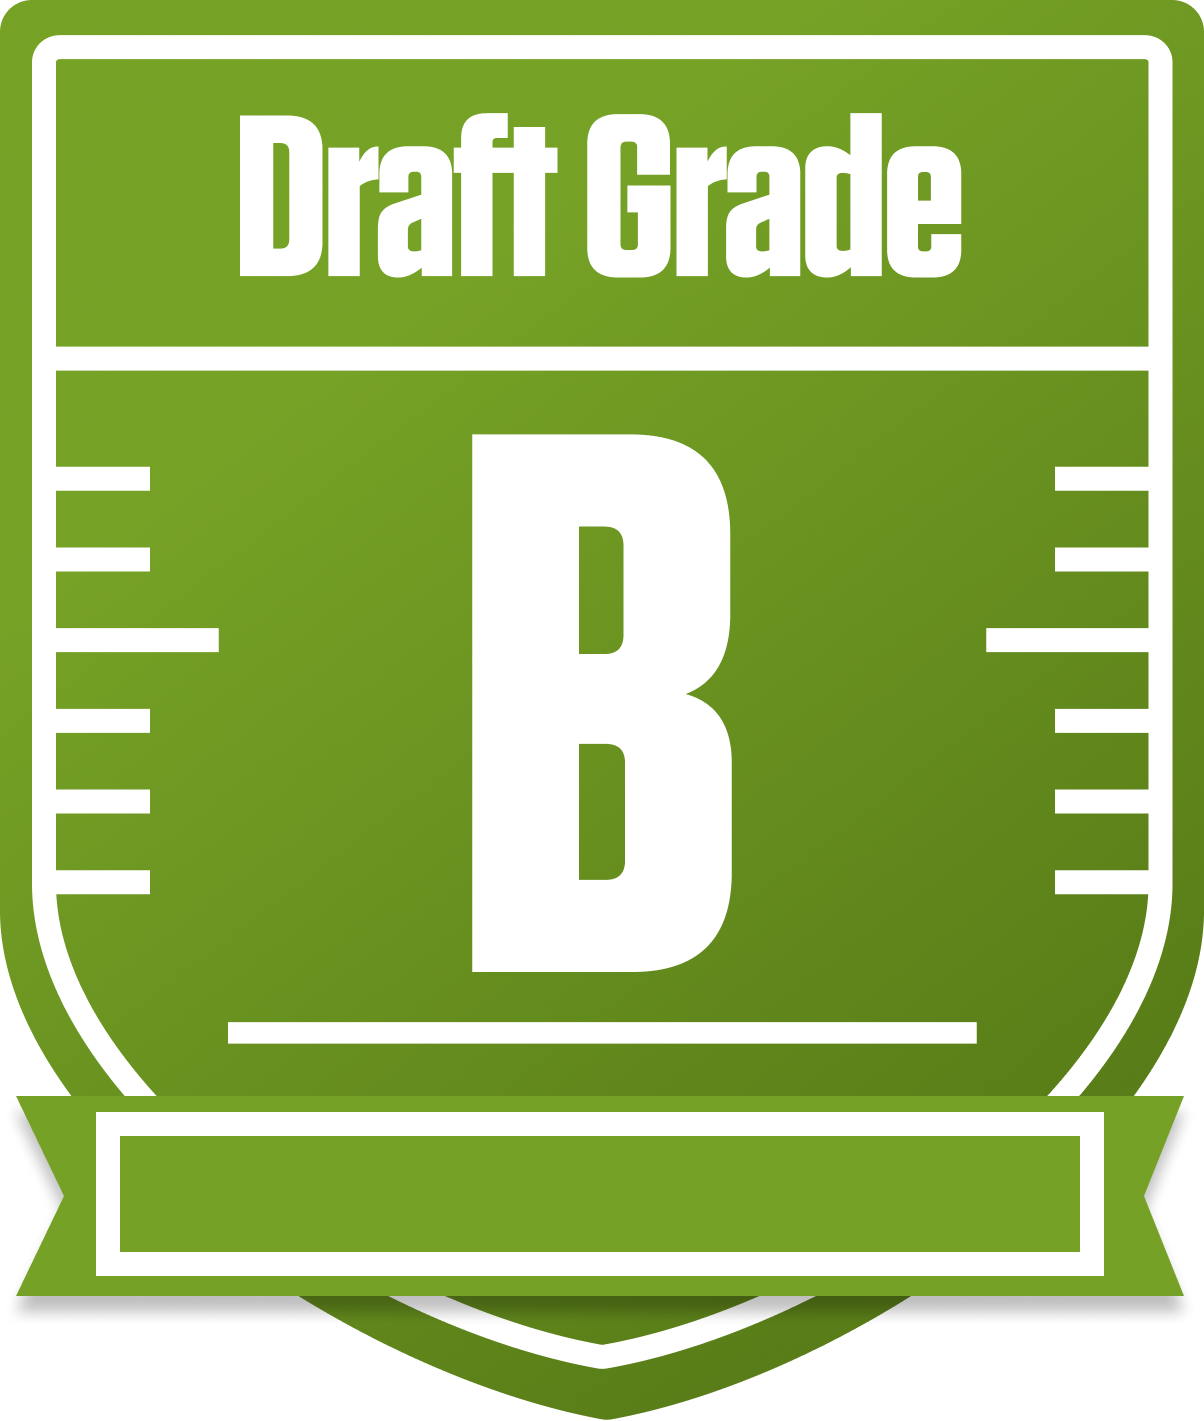
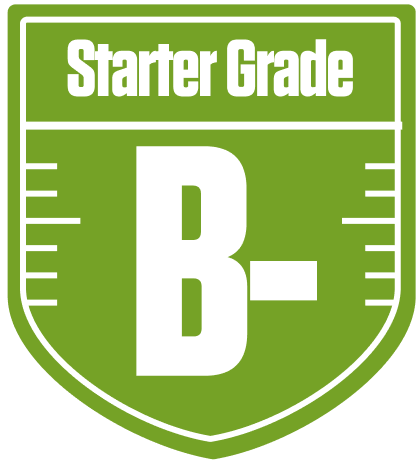
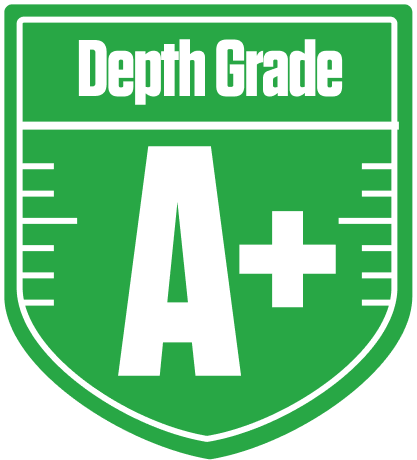
Your Draft Report Card Is Here, Team Massimini - Let's Break Down How You Did
Team Massimini rolled into the A Football Life league with a solid B overall grade for this redraft season, showing a well-rounded squad that’s ready to compete but with some clear areas to tighten up. With 12 teams battling it out and standard roster settings—no superflex to boost QB value—this team’s construction leans heavily on strong wide receiver depth and a reliable quarterback starter. The league’s first down bonuses and return yard scoring add a nice twist, rewarding players who can consistently move the chains and make big plays on special teams.
Your playoff chances hover around the middle of the pack, with a decent shot at making a run if things break right. The starting lineup grades show promise, especially at QB and WR, but the bench depth, particularly at RB and TE, could use some shoring up. We’ll dive into the strengths, weaknesses, and strategic moves you can make to push this team from good to great in the breakdown below. Buckle up, Team Massimini—there’s plenty of fuel in the tank to reach for those stars! 🌟
Your Grades By Position
Quarterback


Running Back


Wide Receiver

Tight End

Team Defense
Kicker

Quarterback
Running Back
Wide Receiver
Tight End
Team Defense
Kicker
Playoff Chances
{"type":"doughnut","data":{"labels":["Make the Playoffs","Miss the Playoffs","Make the Playoffs","Miss the Playoffs","Make the Playoffs","Miss the Playoffs"],"datasets":[{"label":"Great Management","data":[70,30],"backgroundColor":["#3b82f6","#6c757d"],"borderWidth":3,"borderColor":"#fff"},{"label":"Good Management","data":[61,39],"backgroundColor":["#22c55e","#6c757d"],"borderWidth":3,"borderColor":"#fff"},{"label":"Average Management","data":[50,50],"backgroundColor":["#fbbf24","#6c757d"],"borderWidth":3,"borderColor":"#fff"}]},"options":{"responsive":true,"maintainAspectRatio":false,"backgroundColor":"transparent","cutout":"40%","plugins":{"legend":{"display":false},"tooltip":{"enabled":true,"backgroundColor":"rgba(0,0,0,0.8)","titleColor":"#fff","bodyColor":"#fff"}},"elements":{"arc":{"borderWidth":3,"borderColor":"#fff"}}}}
Position Upside Potential
Breakout potential by position - more stars indicate greater upside opportunity