
4WhomJBellTolls
4WhomJBellTolls
#SFB16 Cincinnati - Fallout
Want a Spicier Take? Need a Little Encouragement? Try Changing the Tone of your Report!
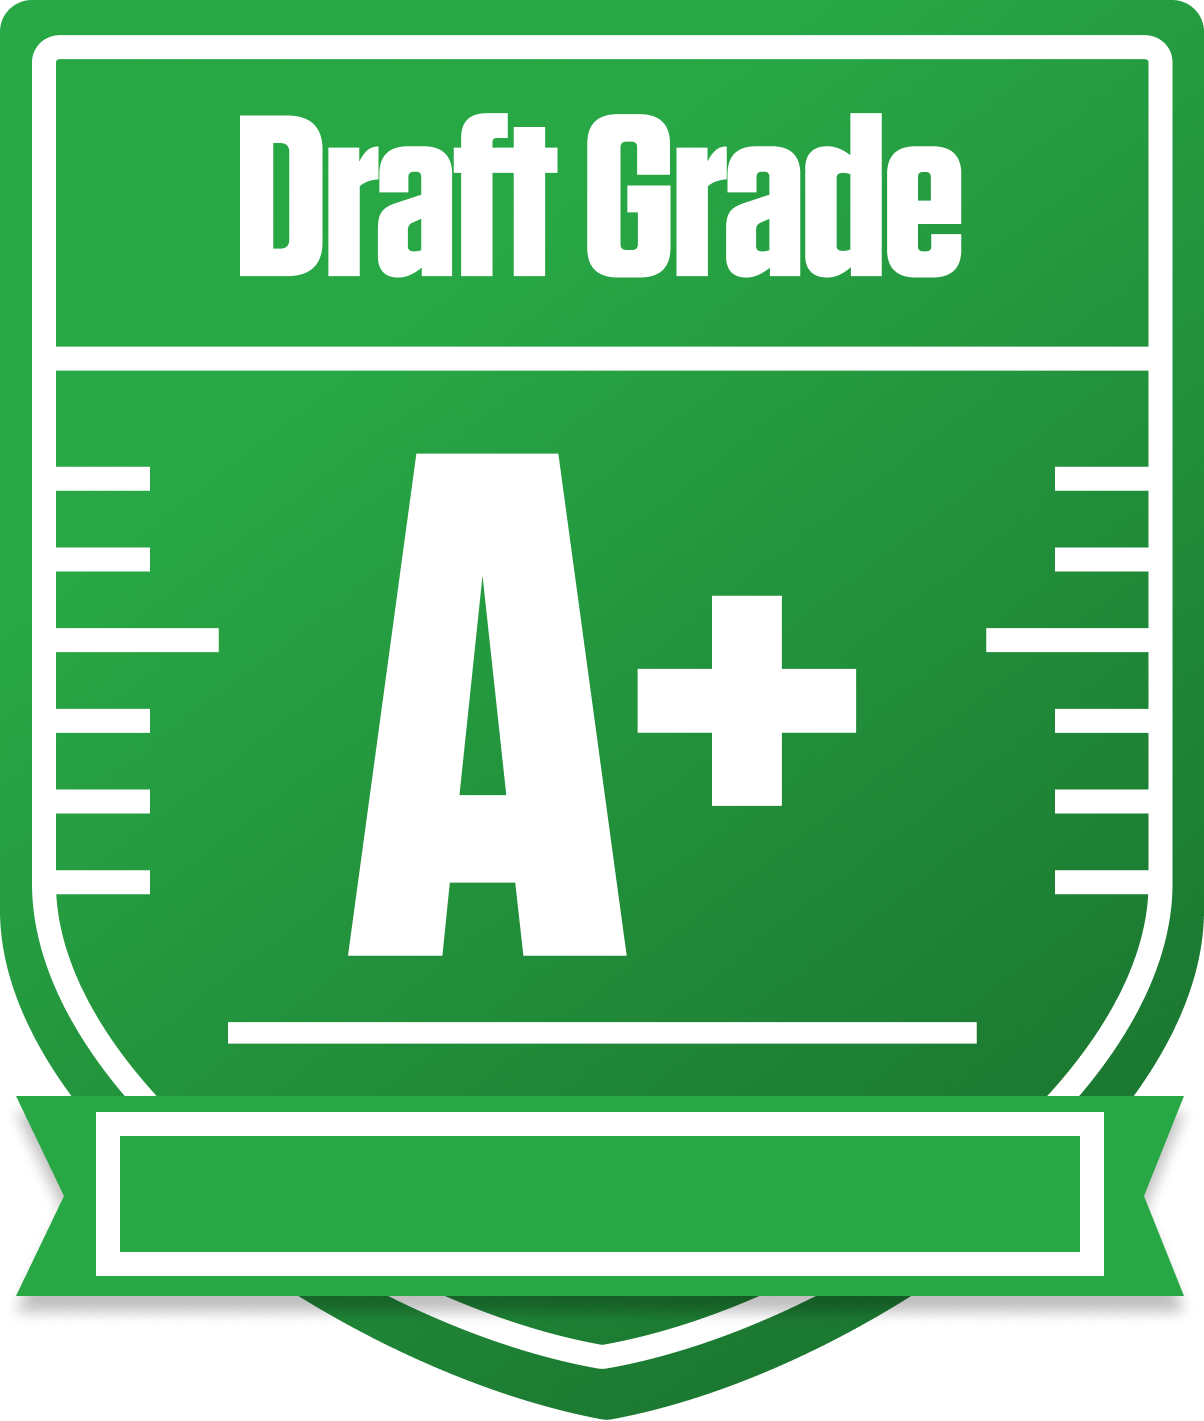

4WhomJBellTolls Draft Report Card - SFB16 Cincinnati - Fallout Breakdown
Well, howdy there, 4WhomJBellTolls! You’ve put together a downright impressive squad in this 12-team, superflex redraft league with some unique twists like first down bonuses and return yards scoring. Your overall grade of A+ tells us you’re not just playing for fun—you’re gunning for that championship. With a strong starting lineup and a bench that shines especially at WR and TE, you’re well-positioned to make a deep playoff run with a solid 67% average chance, climbing to a great 81% if things break your way.
This league’s 8 flex spots and 2 superflex slots mean depth and QB strength are gold, and you’ve nailed that with an A starter grade at QB and a bench that can back it up. But don’t get too comfy—your running back group is a bit of a sore spot, dragging your overall RB grade down. We’ll dig into how that might impact your season and what moves could keep you on top. So saddle up, partner, let’s ride through your team’s strengths, weaknesses, and strategies to keep you in the winner’s circle.
Your Grades By Position
Running Back


Wide Receiver
Tight End
Quarterback


Running Back
Wide Receiver
Tight End
Quarterback
Playoff Chances
{"type":"doughnut","data":{"labels":["Make the Playoffs","Miss the Playoffs","Make the Playoffs","Miss the Playoffs","Make the Playoffs","Miss the Playoffs"],"datasets":[{"label":"Great Management","data":[81,19],"backgroundColor":["#3b82f6","#6c757d"],"borderWidth":3,"borderColor":"#fff"},{"label":"Good Management","data":[75,25],"backgroundColor":["#22c55e","#6c757d"],"borderWidth":3,"borderColor":"#fff"},{"label":"Average Management","data":[67,33],"backgroundColor":["#fbbf24","#6c757d"],"borderWidth":3,"borderColor":"#fff"}]},"options":{"responsive":true,"maintainAspectRatio":false,"backgroundColor":"transparent","cutout":"40%","plugins":{"legend":{"display":false},"tooltip":{"enabled":true,"backgroundColor":"rgba(0,0,0,0.8)","titleColor":"#fff","bodyColor":"#fff"}},"elements":{"arc":{"borderWidth":3,"borderColor":"#fff"}}}}
Position Upside Potential
Breakout potential by position - more stars indicate greater upside opportunity