
Vault Dweller
Vault Dweller
#SFB16 Cincinnati - Fallout
Want a Spicier Take? Need a Little Encouragement? Try Changing the Tone of your Report!


Vault Dweller Draft Report Card Is Here - Let's Break Down How You Did
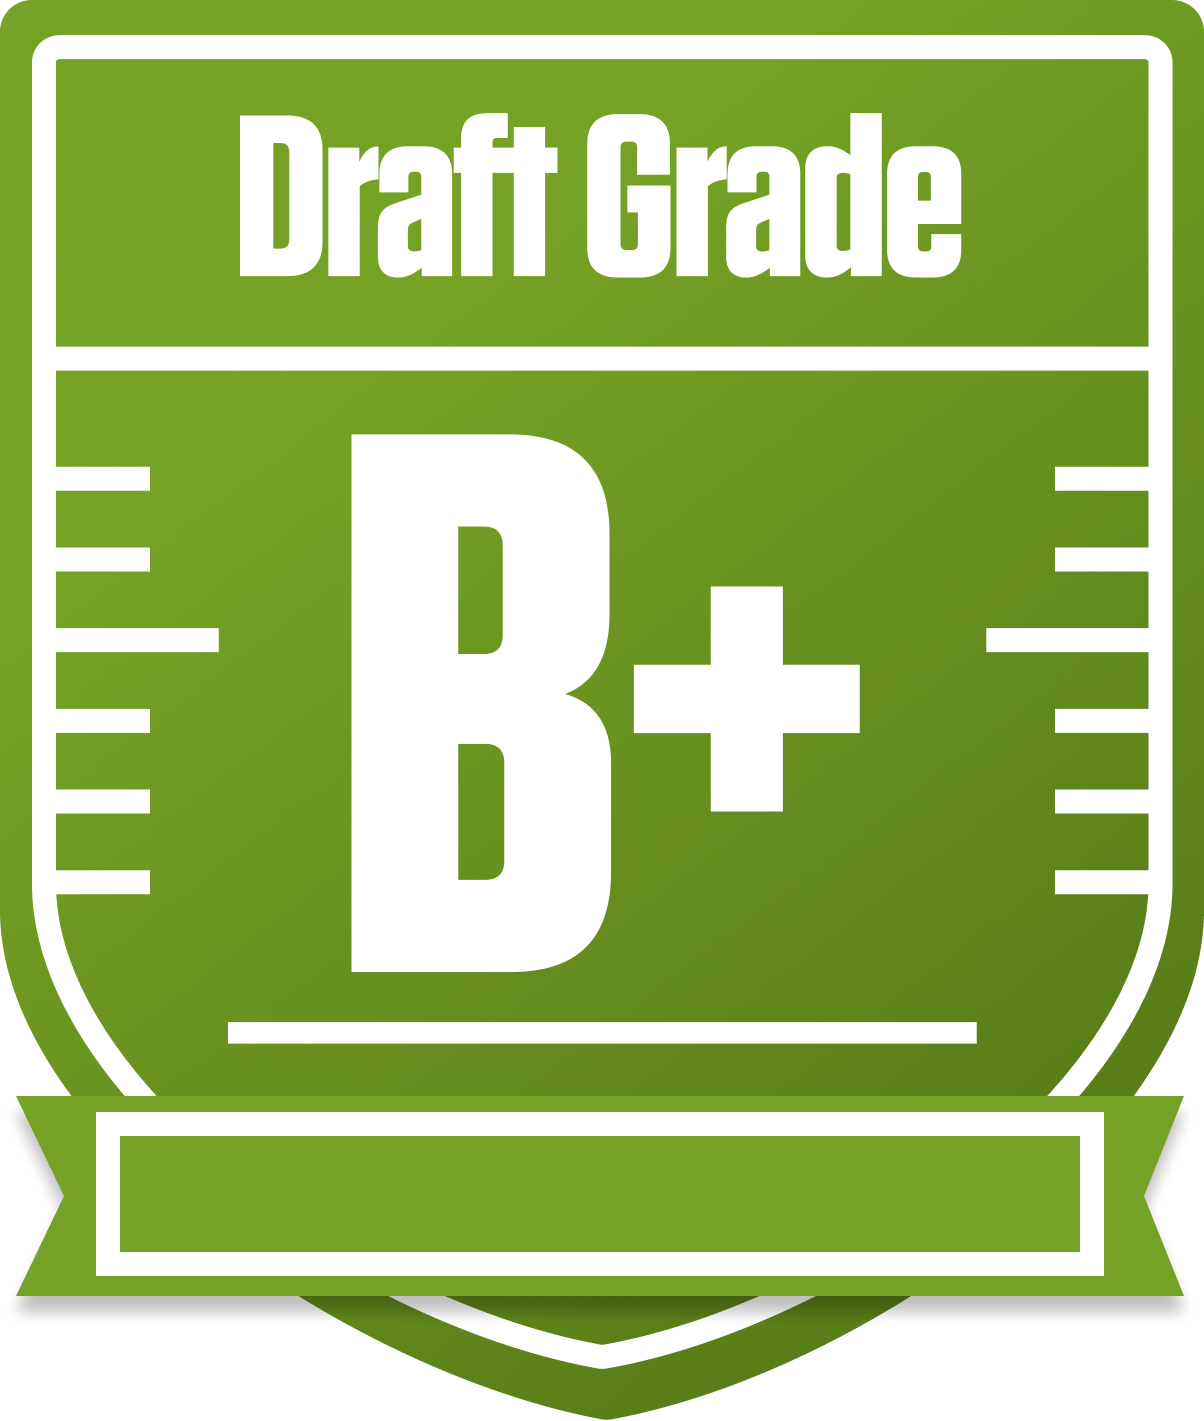
Welcome to your personalized draft analysis for the Vault Dweller in the SFB16 Cincinnati - Fallout league! This 12-team, superflex redraft league with half-PPR scoring and a hefty 8 flex spots demands a well-rounded roster, and your team earned a solid B+ overall grade. Your squad shows clear strengths and some glaring weaknesses, especially when it comes to wide receivers. With a playoff chance hovering around 50%, you’re right in the thick of the hunt, but there’s work to be done to push into the upper tier.
Your team’s approach leans heavily on a dominant running back group and elite tight ends, while the quarterback spot is strong but bench depth is lacking. The wide receiver corps, however, is a sore spot that could hold you back if not addressed. We’ll dive into how these positional grades shape your season outlook and what moves could elevate your chances. Let’s break down the good, the bad, and the opportunities ahead for Vault Dweller.
Your Grades By Position
Running Back
Wide Receiver


Tight End
Quarterback

Running Back
Wide Receiver
Tight End
Quarterback
Playoff Chances
{"type":"doughnut","data":{"labels":["Make the Playoffs","Miss the Playoffs","Make the Playoffs","Miss the Playoffs","Make the Playoffs","Miss the Playoffs"],"datasets":[{"label":"Great Management","data":[70,30],"backgroundColor":["#3b82f6","#6c757d"],"borderWidth":3,"borderColor":"#fff"},{"label":"Good Management","data":[61,39],"backgroundColor":["#22c55e","#6c757d"],"borderWidth":3,"borderColor":"#fff"},{"label":"Average Management","data":[50,50],"backgroundColor":["#fbbf24","#6c757d"],"borderWidth":3,"borderColor":"#fff"}]},"options":{"responsive":true,"maintainAspectRatio":false,"backgroundColor":"transparent","cutout":"40%","plugins":{"legend":{"display":false},"tooltip":{"enabled":true,"backgroundColor":"rgba(0,0,0,0.8)","titleColor":"#fff","bodyColor":"#fff"}},"elements":{"arc":{"borderWidth":3,"borderColor":"#fff"}}}}
Position Upside Potential
Breakout potential by position - more stars indicate greater upside opportunity