
Ghouls & Gridirons
Ghouls & Gridirons
#SFB16 Cincinnati - Fallout
Want a Spicier Take? Need a Little Encouragement? Try Changing the Tone of your Report!

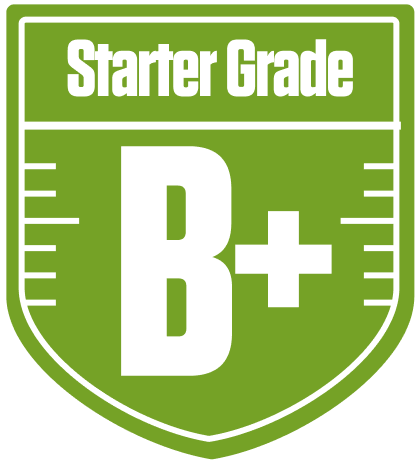

Your Draft Report Card Is Here, Ghouls & Gridirons - Let's Break Down How You Did
Well, howdy there, Ghouls & Gridirons! You’ve put together a solid squad in the SFB16 Cincinnati - Fallout league, and your overall grade of A- shows you’re definitely in the hunt this season. With a 12-team, superflex redraft format featuring half PPR and return yards scoring, your roster construction has to be sharp, and you’ve done a fine job balancing starters and bench depth. Your projected points and grades reflect a team that’s strong in key areas but has some glaring holes to address if you want to make a deep playoff run.
Your playoff chances hover around a respectable 55% average, climbing to a 74% great chance if things break your way. The league’s unique 8 flex and 2 superflex spots mean your quarterback depth is crucial, and you’ve got that covered. But beware, your running back starters are struggling, and your wide receiver bench leaves much to be desired. Let’s dive into the nitty-gritty and see where you shine and where you might want to make some moves to keep those gridiron ghouls howling all the way to the championship!
Your Grades By Position
Running Back

Wide Receiver

Tight End

Quarterback

Running Back
Wide Receiver
Tight End
Quarterback
Playoff Chances
{"type":"doughnut","data":{"labels":["Make the Playoffs","Miss the Playoffs","Make the Playoffs","Miss the Playoffs","Make the Playoffs","Miss the Playoffs"],"datasets":[{"label":"Great Management","data":[74,26],"backgroundColor":["#3b82f6","#6c757d"],"borderWidth":3,"borderColor":"#fff"},{"label":"Good Management","data":[66,34],"backgroundColor":["#22c55e","#6c757d"],"borderWidth":3,"borderColor":"#fff"},{"label":"Average Management","data":[55,45],"backgroundColor":["#fbbf24","#6c757d"],"borderWidth":3,"borderColor":"#fff"}]},"options":{"responsive":true,"maintainAspectRatio":false,"backgroundColor":"transparent","cutout":"40%","plugins":{"legend":{"display":false},"tooltip":{"enabled":true,"backgroundColor":"rgba(0,0,0,0.8)","titleColor":"#fff","bodyColor":"#fff"}},"elements":{"arc":{"borderWidth":3,"borderColor":"#fff"}}}}
Position Upside Potential
Breakout potential by position - more stars indicate greater upside opportunity