
Justin_Redwards
Justin_Redwards
#SFB16 Cincinnati - Fallout
Want a Spicier Take? Need a Little Encouragement? Try Changing the Tone of your Report!
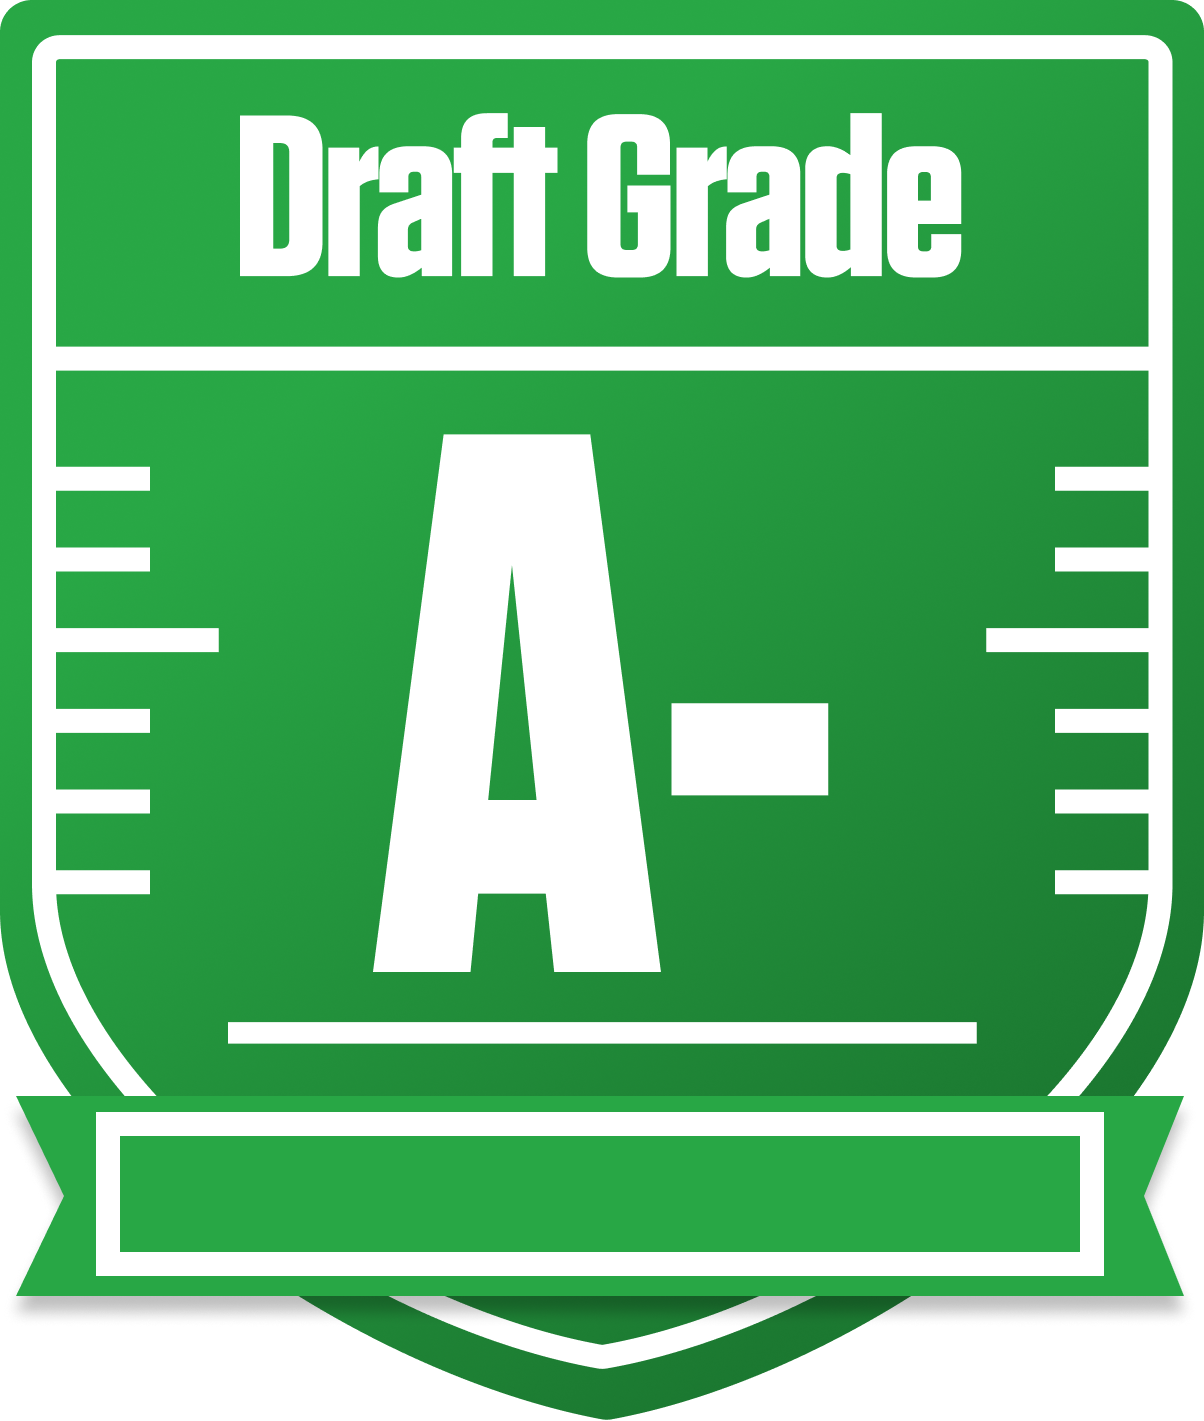

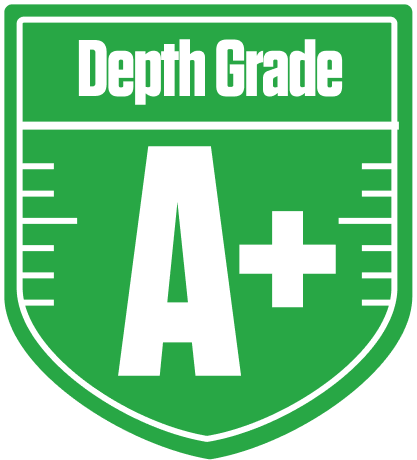
Your Draft Report Card Is Here, JustinRedwards - Let's Break Down How You Did
Well, howdy JustinRedwards! You’ve put together a strong A- overall grade in the SFB16 Cincinnati - Fallout league, which is no small feat in a 12-team superflex redraft setup with 8 flex spots and 2 superflex slots. Your team’s starting lineup shines bright, especially at running back and wide receiver, where you’ve got a potent mix of high-floor and high-upside players ready to carry you deep into the playoffs. The half-PPR scoring with first down bonuses and return yards adds some nice flavor to your roster construction, and you’ve clearly embraced that with your player choices.
That said, your bench depth tells a tale of two extremes: a rock-solid running back bench but a WR bench that leaves a bit to be desired. Your tight end group is a weak spot, and your QB depth behind your starters is shaky, which could bite you during bye weeks or injuries. Your playoff chances look promising, hovering near 60% on average, but you’ll want to keep an eye on bye week conflicts and potential upgrades. Let’s dive into the nitty-gritty and see how you can turn this solid foundation into a championship contender.
Your Grades By Position
Running Back

Wide Receiver

Tight End


Quarterback


Running Back
Wide Receiver
Tight End
Quarterback
Playoff Chances
{"type":"doughnut","data":{"labels":["Make the Playoffs","Miss the Playoffs","Make the Playoffs","Miss the Playoffs","Make the Playoffs","Miss the Playoffs"],"datasets":[{"label":"Great Management","data":[76,24],"backgroundColor":["#3b82f6","#6c757d"],"borderWidth":3,"borderColor":"#fff"},{"label":"Good Management","data":[69,31],"backgroundColor":["#22c55e","#6c757d"],"borderWidth":3,"borderColor":"#fff"},{"label":"Average Management","data":[59,41],"backgroundColor":["#fbbf24","#6c757d"],"borderWidth":3,"borderColor":"#fff"}]},"options":{"responsive":true,"maintainAspectRatio":false,"backgroundColor":"transparent","cutout":"40%","plugins":{"legend":{"display":false},"tooltip":{"enabled":true,"backgroundColor":"rgba(0,0,0,0.8)","titleColor":"#fff","bodyColor":"#fff"}},"elements":{"arc":{"borderWidth":3,"borderColor":"#fff"}}}}
Position Upside Potential
Breakout potential by position - more stars indicate greater upside opportunity