
UCBravesKing
UCBravesKing
#SFB16 Cincinnati - Fallout
Want a Spicier Take? Need a Little Encouragement? Try Changing the Tone of your Report!
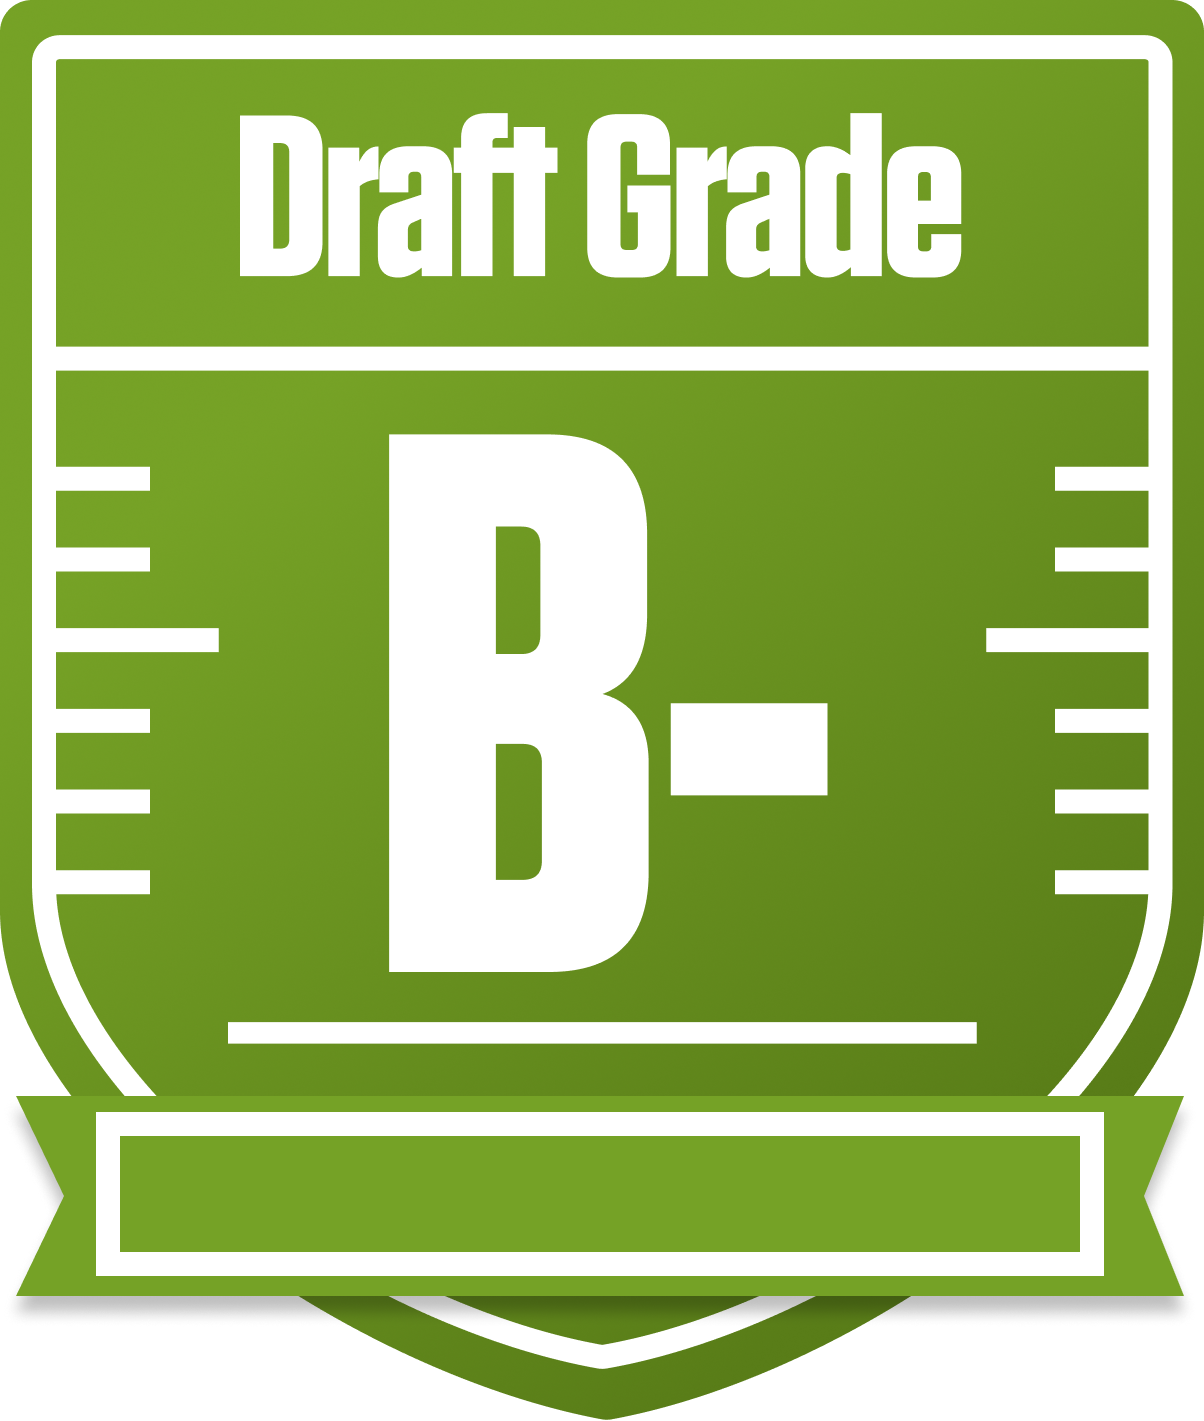
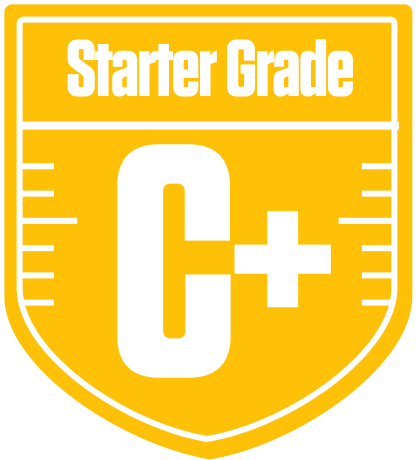
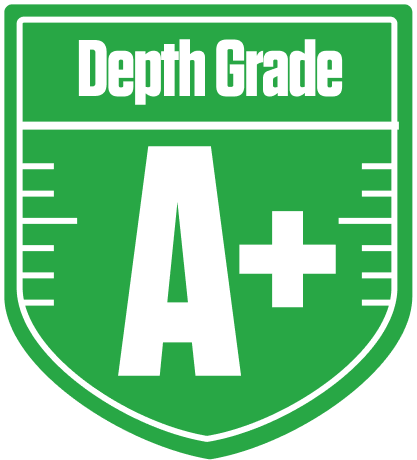
Your Draft Report Card Is Here, UCBravesKing - Let's Break Down How You Did
Welcome to your personalized draft analysis for the UCBravesKing in the SFB16 Cincinnati - Fallout league! This 12-team superflex redraft league with half-PPR scoring and a hefty 8 flex spots demands a well-rounded roster, and your team earned a solid B- overall grade. Your squad shows a clear strength in the running back and tight end positions, which is a smart foundation for consistent weekly production. However, your wide receiver starters are a glaring weak spot, dragging down your starting lineup’s overall grade.
With playoff chances hovering in the mid-40s to low 60s percentile range, your team is in that intriguing “boom or bust” territory—plenty of upside but also some risk. The superflex format means your quarterback duo is crucial, and you’ve got a strong setup there. We’ll dive into how your roster construction, bye week conflicts, and potential trade targets can help you push into the playoffs and beyond. Let’s get into the nitty-gritty and see how you can turn this B- into a championship contender!
Your Grades By Position
Running Back

Wide Receiver
Tight End

Quarterback


Running Back
Wide Receiver
Tight End
Quarterback
Playoff Chances
{"type":"doughnut","data":{"labels":["Make the Playoffs","Miss the Playoffs","Make the Playoffs","Miss the Playoffs","Make the Playoffs","Miss the Playoffs"],"datasets":[{"label":"Great Management","data":[63,37],"backgroundColor":["#3b82f6","#6c757d"],"borderWidth":3,"borderColor":"#fff"},{"label":"Good Management","data":[53,47],"backgroundColor":["#22c55e","#6c757d"],"borderWidth":3,"borderColor":"#fff"},{"label":"Average Management","data":[43,57],"backgroundColor":["#fbbf24","#6c757d"],"borderWidth":3,"borderColor":"#fff"}]},"options":{"responsive":true,"maintainAspectRatio":false,"backgroundColor":"transparent","cutout":"40%","plugins":{"legend":{"display":false},"tooltip":{"enabled":true,"backgroundColor":"rgba(0,0,0,0.8)","titleColor":"#fff","bodyColor":"#fff"}},"elements":{"arc":{"borderWidth":3,"borderColor":"#fff"}}}}
Position Upside Potential
Breakout potential by position - more stars indicate greater upside opportunity