
New Vegas Radstags
New Vegas Radstags
#SFB16 Cincinnati - Fallout
Want a Spicier Take? Need a Little Encouragement? Try Changing the Tone of your Report!
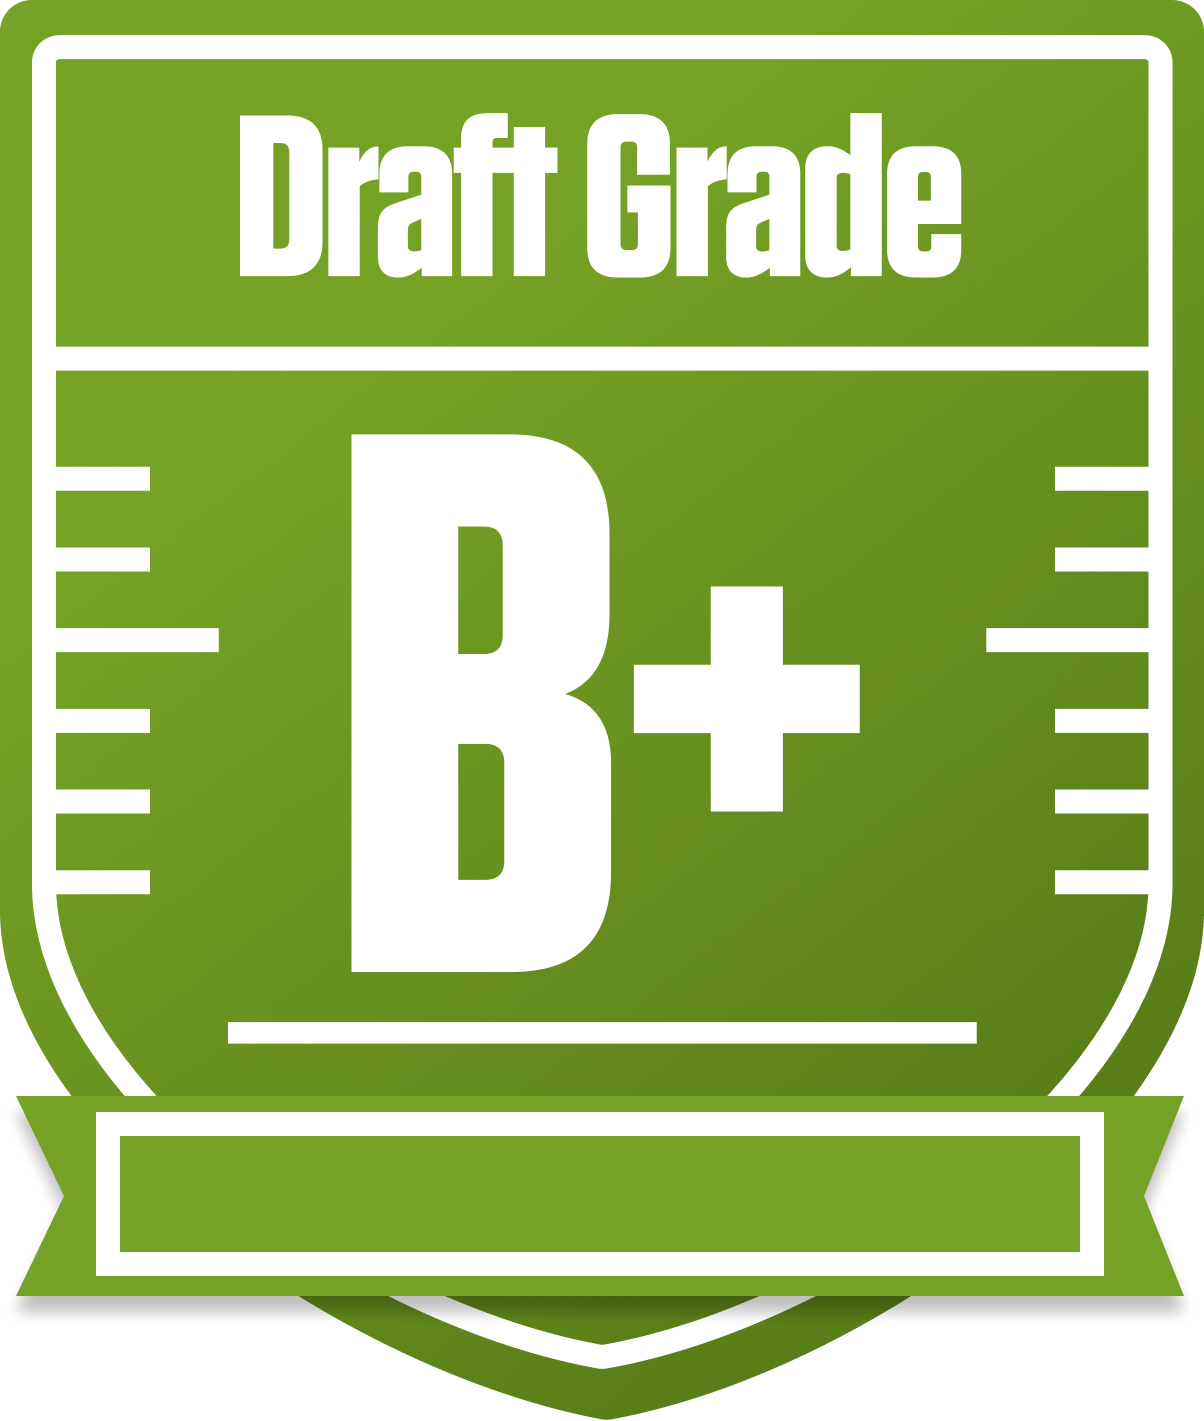
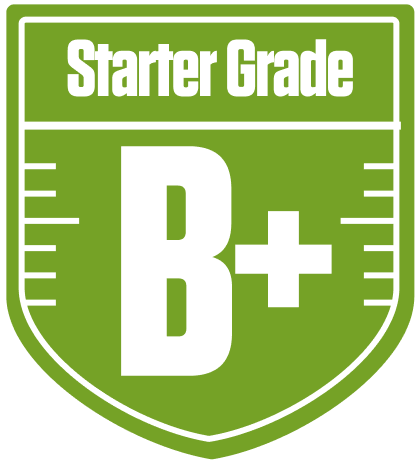
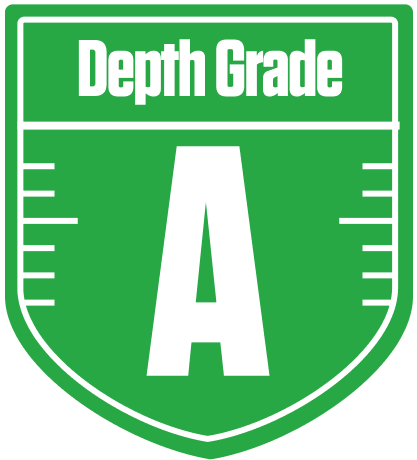
New Vegas Radstags Draft Report Card - A Tale of Stars and Struggles in SFB16 Cincinnati - Fallout
The New Vegas Radstags come out of the gate with a solid B+ overall grade in this 12-team, superflex redraft league, showing a well-rounded roster with some glaring positional imbalances. With 8 flex spots and 2 superflex slots, this league rewards depth and QB strength, and your team’s strong WR and TE groups shine bright in this context. Your playoff chances hover around the middle to upper tier, with a good shot if things break your way.
This report dives into your draft results, highlighting your standout wide receivers and tight ends who are carrying the load, while your running back corps is a clear weak link that could hold you back. We’ll also touch on your QB situation, bye week challenges, and strategic moves to help you capitalize on your strengths and shore up your vulnerabilities. Let’s break down how your team stacks up and what moves can push you into that playoff sweet spot.
Your Grades By Position
Running Back


Wide Receiver

Tight End
Quarterback


Running Back
Wide Receiver
Tight End
Quarterback
Playoff Chances
{"type":"doughnut","data":{"labels":["Make the Playoffs","Miss the Playoffs","Make the Playoffs","Miss the Playoffs","Make the Playoffs","Miss the Playoffs"],"datasets":[{"label":"Great Management","data":[72,28],"backgroundColor":["#3b82f6","#6c757d"],"borderWidth":3,"borderColor":"#fff"},{"label":"Good Management","data":[64,36],"backgroundColor":["#22c55e","#6c757d"],"borderWidth":3,"borderColor":"#fff"},{"label":"Average Management","data":[53,47],"backgroundColor":["#fbbf24","#6c757d"],"borderWidth":3,"borderColor":"#fff"}]},"options":{"responsive":true,"maintainAspectRatio":false,"backgroundColor":"transparent","cutout":"40%","plugins":{"legend":{"display":false},"tooltip":{"enabled":true,"backgroundColor":"rgba(0,0,0,0.8)","titleColor":"#fff","bodyColor":"#fff"}},"elements":{"arc":{"borderWidth":3,"borderColor":"#fff"}}}}
Position Upside Potential
Breakout potential by position - more stars indicate greater upside opportunity