
Twisted Sanity
Twisted Sanity
#SFB16 Cincinnati - Fallout
Want a Spicier Take? Need a Little Encouragement? Try Changing the Tone of your Report!


Twisted Sanity Draft Report Card - SFB16 Cincinnati - Fallout Breakdown
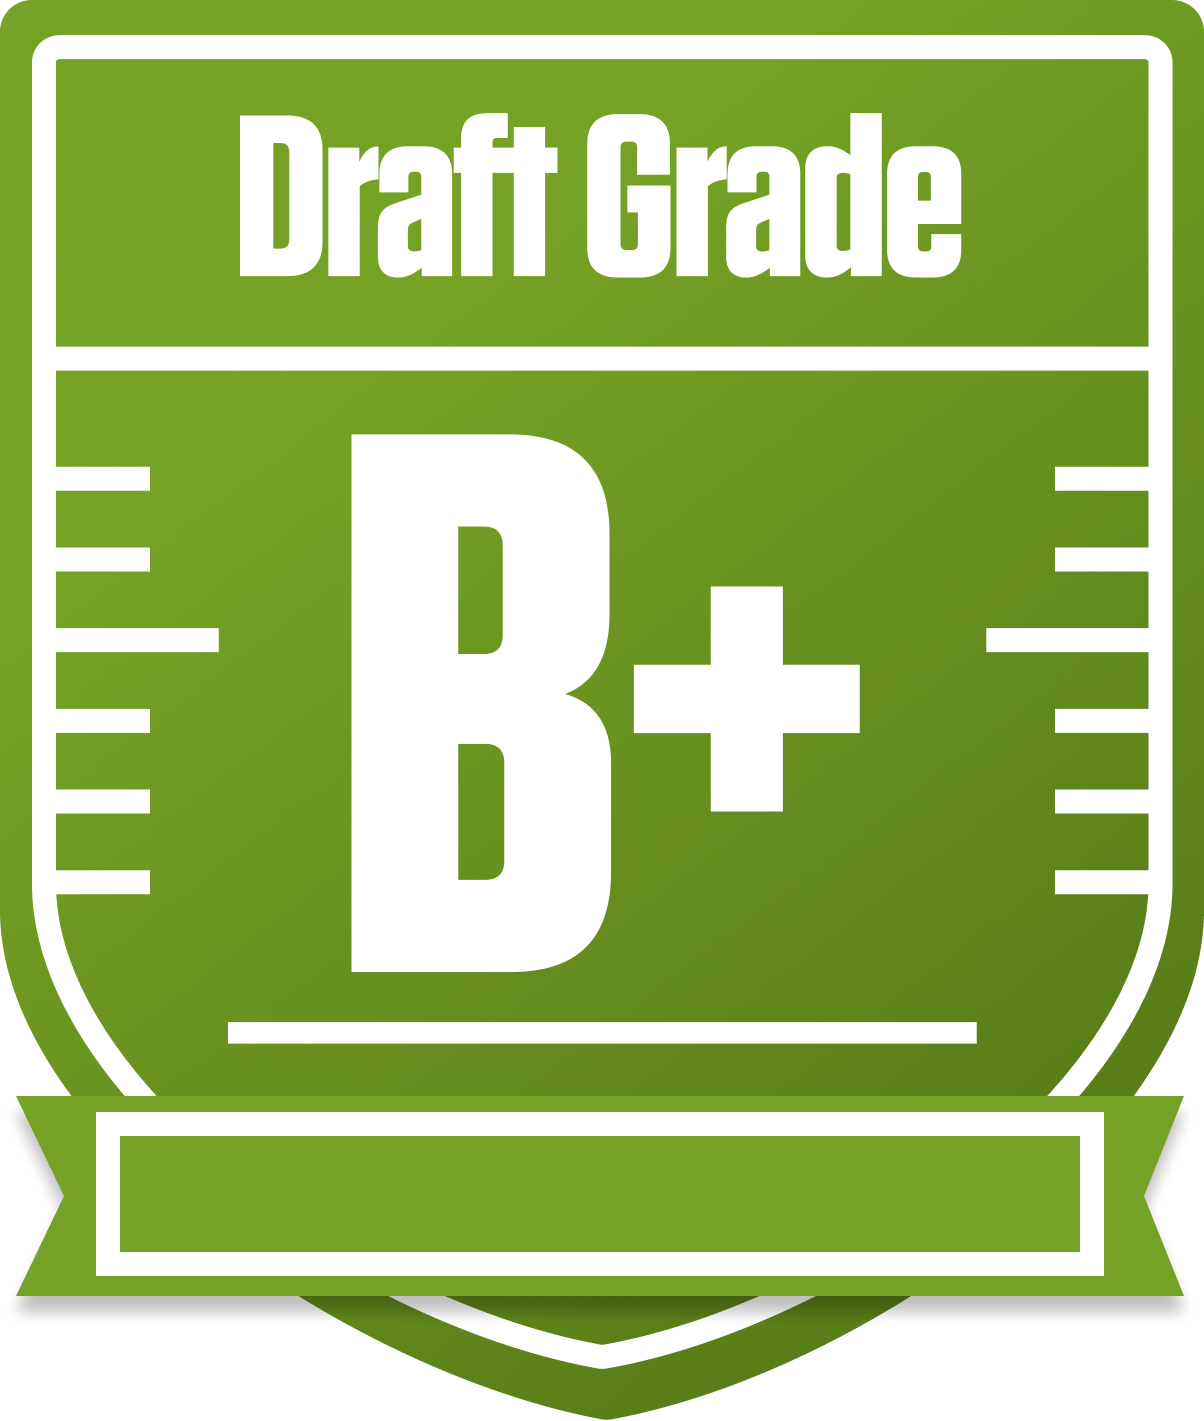
Howdy, fantasy wranglers! Let’s dive into the Twisted Sanity squad from the SFB16 Cincinnati - Fallout league, a 12-team superflex redraft setup with some spicy scoring quirks like first down bonuses and return yards. This team earned a solid B+ overall grade, showing strong starting lineup firepower, especially at quarterback and wide receiver, which is crucial in a superflex format where QBs can make or break your week. Their playoff chances hover in the middle of the pack, with a decent shot at making a run if things break right.
The team’s approach leans heavily on elite pass catchers and top-tier QBs, but the running back group leaves a bit to be desired, which could be a thorn in their side down the stretch. With 8 flex spots and 2 superflex slots, depth is king, and Twisted Sanity’s bench is a mixed bag. We’ll unpack all this and more below, including some strategic moves to sharpen their edge and boost those playoff odds.
Your Grades By Position
Running Back


Wide Receiver

Tight End

Quarterback
Running Back
Wide Receiver
Tight End
Quarterback
Playoff Chances
{"type":"doughnut","data":{"labels":["Make the Playoffs","Miss the Playoffs","Make the Playoffs","Miss the Playoffs","Make the Playoffs","Miss the Playoffs"],"datasets":[{"label":"Great Management","data":[72,28],"backgroundColor":["#3b82f6","#6c757d"],"borderWidth":3,"borderColor":"#fff"},{"label":"Good Management","data":[63,37],"backgroundColor":["#22c55e","#6c757d"],"borderWidth":3,"borderColor":"#fff"},{"label":"Average Management","data":[52,48],"backgroundColor":["#fbbf24","#6c757d"],"borderWidth":3,"borderColor":"#fff"}]},"options":{"responsive":true,"maintainAspectRatio":false,"backgroundColor":"transparent","cutout":"40%","plugins":{"legend":{"display":false},"tooltip":{"enabled":true,"backgroundColor":"rgba(0,0,0,0.8)","titleColor":"#fff","bodyColor":"#fff"}},"elements":{"arc":{"borderWidth":3,"borderColor":"#fff"}}}}
Position Upside Potential
Breakout potential by position - more stars indicate greater upside opportunity