
Bobby Boucher WATERBOY
Bobby Boucher WATERBOY
All Procrastinators
Want a Spicier Take? Need a Little Encouragement? Try Changing the Tone of your Report!
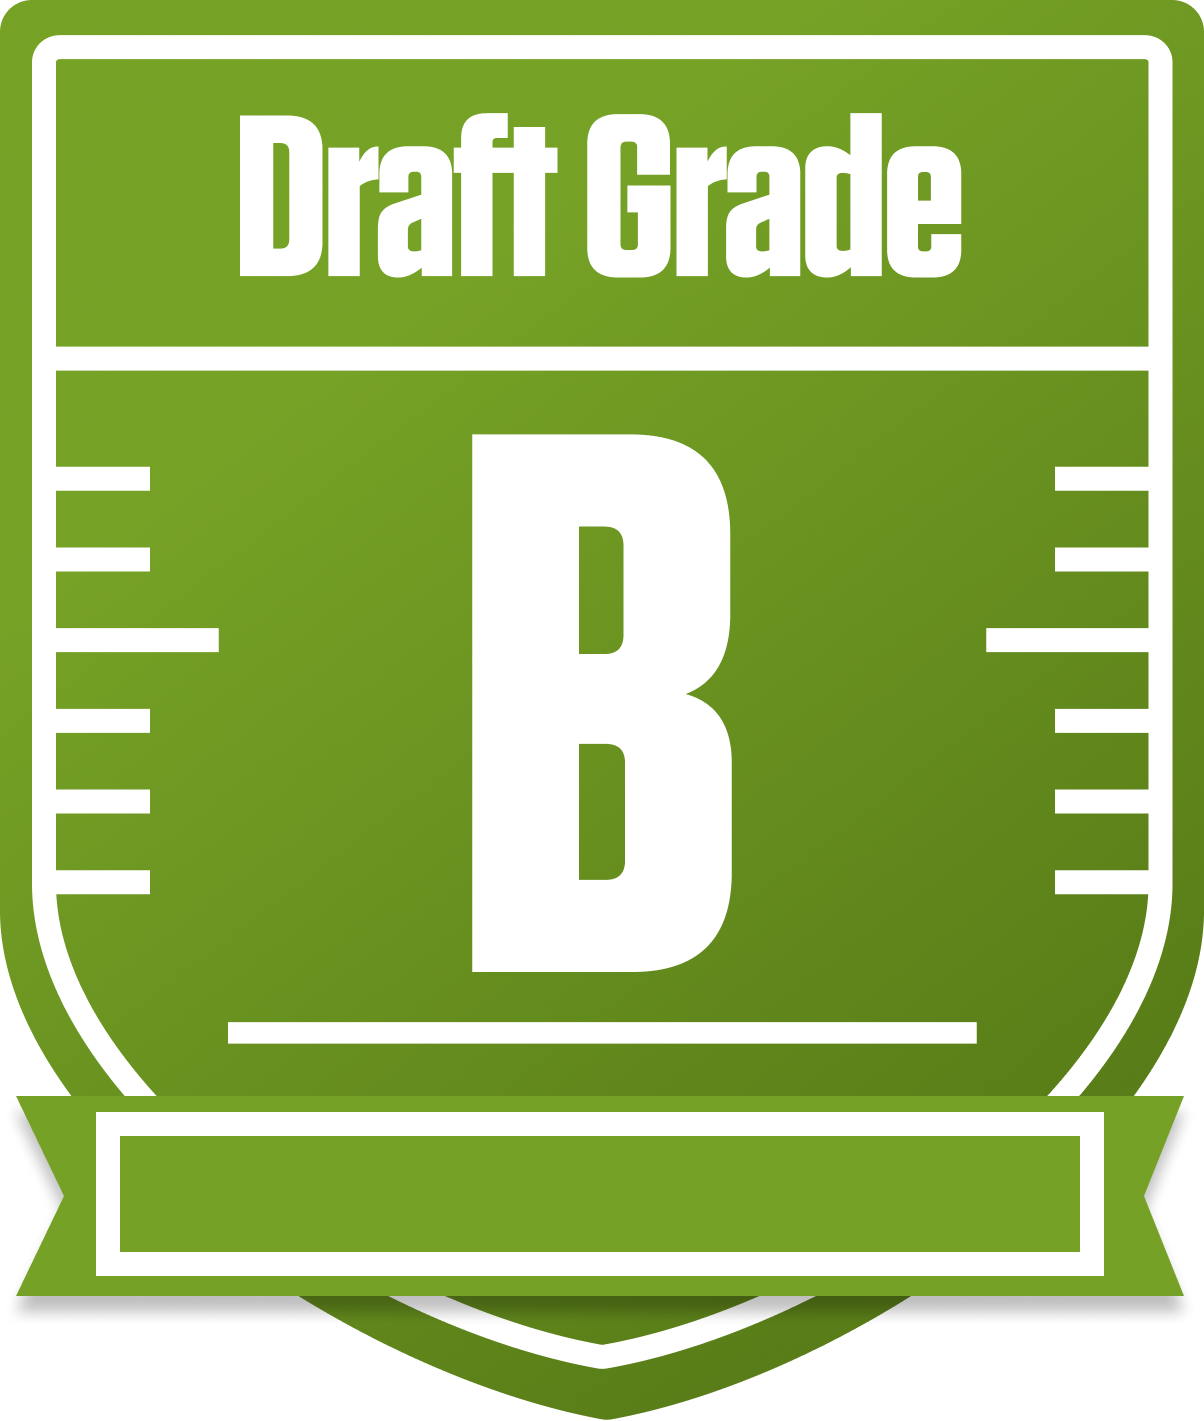
Your Draft Report Card Is Here, Bobby Boucher WATERBOY - Let's Break Down How You Did
Well, howdy, Bobby Boucher WATERBOY! You’ve put together a solid B-grade squad in the All Procrastinators league, and that’s no small feat in a competitive 12-team redraft setup. With just one QB, two RBs, two WRs, a TE, kicker, defense, and two flex spots, your roster construction shows some clear strengths and a few areas that need attention. Your team’s overall grade reflects a balanced approach, but the devil’s in the details, especially when it comes to your running backs and wide receivers.
Your playoff chances hover in the middle of the pack, with a decent shot if things break your way. The league’s return yards scoring and roster settings put a premium on versatile players who can contribute in multiple ways, and you’ve got some stars who fit that mold. We’ll dive into your top performers, your weak spots, and some strategic moves you can make to push your team from good to great. Buckle up, because this ride through your draft results is about to get interesting!
Your Grades By Position
Quarterback

Running Back

Wide Receiver


Team Defense
Kicker
Tight End


Quarterback
Running Back
Wide Receiver
Team Defense
Kicker
Tight End
Playoff Chances
{"type":"doughnut","data":{"labels":["Make the Playoffs","Miss the Playoffs","Make the Playoffs","Miss the Playoffs","Make the Playoffs","Miss the Playoffs"],"datasets":[{"label":"Great Management","data":[69,31],"backgroundColor":["#3b82f6","#6c757d"],"borderWidth":3,"borderColor":"#fff"},{"label":"Good Management","data":[59,41],"backgroundColor":["#22c55e","#6c757d"],"borderWidth":3,"borderColor":"#fff"},{"label":"Average Management","data":[48,52],"backgroundColor":["#fbbf24","#6c757d"],"borderWidth":3,"borderColor":"#fff"}]},"options":{"responsive":true,"maintainAspectRatio":false,"backgroundColor":"transparent","cutout":"40%","plugins":{"legend":{"display":false},"tooltip":{"enabled":true,"backgroundColor":"rgba(0,0,0,0.8)","titleColor":"#fff","bodyColor":"#fff"}},"elements":{"arc":{"borderWidth":3,"borderColor":"#fff"}}}}
Position Upside Potential
Breakout potential by position - more stars indicate greater upside opportunity