Why Me Lawd
Why Me Lawd
All Procrastinators
Want a Spicier Take? Need a Little Encouragement? Try Changing the Tone of your Report!
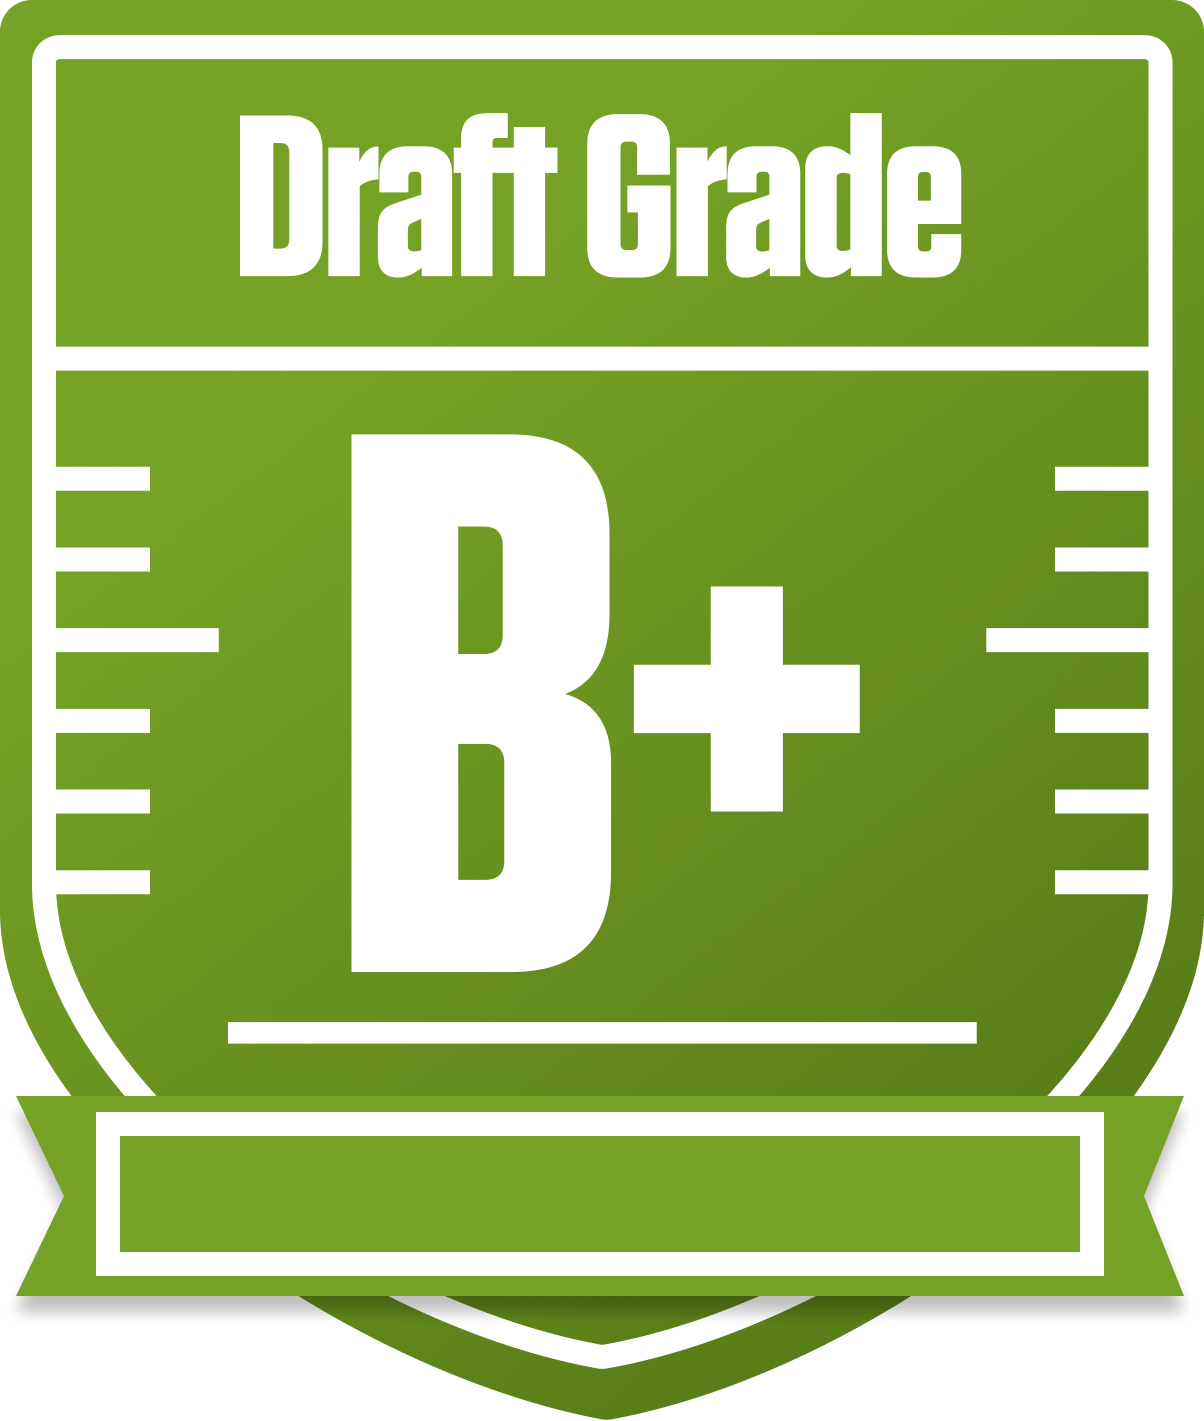
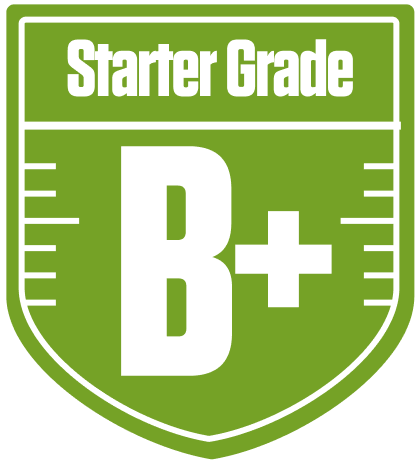
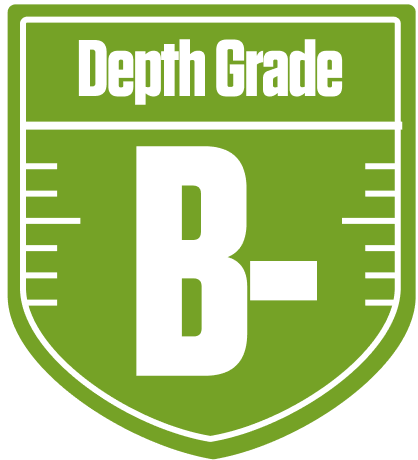


Why Me Lawd's Bold Redraft Report Card in All Procrastinators League
Well, bless your heart, Why Me Lawd has put together a solid B+ grade team in this 12-team redraft league, All Procrastinators. With a roster built around a strong starting lineup and a decent bench, this squad is primed to compete but still has some rough edges to smooth out. The league’s standard roster settings with 1 QB, 2 RBs, 2 WRs, and 2 flex spots mean every starter counts, and this team’s starters are definitely carrying the load. Their projected points and grades show a team that leans on star power at QB and solid depth at skill positions.
Playoff chances hover around the middle of the pack, with a good shot if things break right, but some positional weaknesses and bench depth could hold them back. The team’s approach shows a willingness to reach for upside in some spots, which could pay off big or leave them scrambling. We’ll dive into the strengths, weaknesses, and strategic moves that could push Why Me Lawd from a good team to a championship contender below.
Your Grades By Position
Quarterback


Running Back


Wide Receiver


Team Defense


Kicker


Tight End


Quarterback


Running Back


Wide Receiver


Team Defense


Kicker


Tight End


Playoff Chances
{"type":"doughnut","data":{"labels":["Make the Playoffs","Miss the Playoffs","Make the Playoffs","Miss the Playoffs","Make the Playoffs","Miss the Playoffs"],"datasets":[{"label":"Great Management","data":[71,29],"backgroundColor":["#3b82f6","#6c757d"],"borderWidth":3,"borderColor":"#fff"},{"label":"Good Management","data":[62,38],"backgroundColor":["#22c55e","#6c757d"],"borderWidth":3,"borderColor":"#fff"},{"label":"Average Management","data":[51,49],"backgroundColor":["#fbbf24","#6c757d"],"borderWidth":3,"borderColor":"#fff"}]},"options":{"responsive":true,"maintainAspectRatio":false,"backgroundColor":"transparent","cutout":"40%","plugins":{"legend":{"display":false},"tooltip":{"enabled":true,"backgroundColor":"rgba(0,0,0,0.8)","titleColor":"#fff","bodyColor":"#fff"}},"elements":{"arc":{"borderWidth":3,"borderColor":"#fff"}}}}
Position Upside Potential
Breakout potential by position - more stars indicate greater upside opportunity