Hazbin Hotel
Hazbin Hotel
All Procrastinators
Want a Spicier Take? Need a Little Encouragement? Try Changing the Tone of your Report!




Hazbin Hotel Draft Report Card Is Here - Let's Break Down How You Did
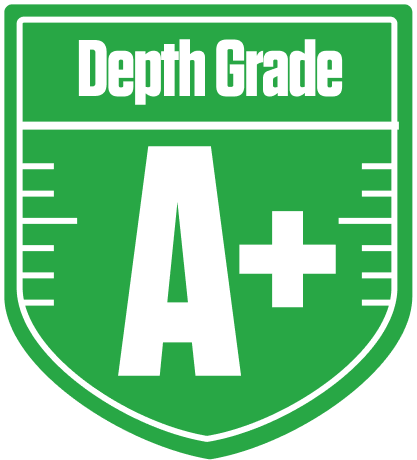
Howdy, fantasy fan! The Hazbin Hotel squad in the All Procrastinators league has put together a strong redraft roster this season, earning an impressive overall grade of A. With a 12-team setup featuring standard roster settings and return yards scoring, this team’s construction shows a savvy approach to balancing star power and depth. Their playoff chances look solid, hovering near the 70% mark, which means they’re definitely in the hunt but still need to keep an eye on key matchups and bye weeks.
This report dives into the nitty-gritty of their draft results, highlighting where they’ve hit home runs and where some caution flags wave. From a top-tier QB to a bench loaded with upside, Hazbin Hotel has built a team that’s both safe and exciting. But as you’ll see below, some position groups could use a little more polish to avoid late-season headaches. Let’s break down the strengths, weaknesses, and strategic moves that can push this team all the way to the championship.
Your Grades By Position
Quarterback


Running Back


Wide Receiver


Team Defense


Kicker


Tight End


Quarterback


Running Back


Wide Receiver


Team Defense


Kicker


Tight End


Playoff Chances
{"type":"doughnut","data":{"labels":["Make the Playoffs","Miss the Playoffs","Make the Playoffs","Miss the Playoffs","Make the Playoffs","Miss the Playoffs"],"datasets":[{"label":"Great Management","data":[79,21],"backgroundColor":["#3b82f6","#6c757d"],"borderWidth":3,"borderColor":"#fff"},{"label":"Good Management","data":[73,27],"backgroundColor":["#22c55e","#6c757d"],"borderWidth":3,"borderColor":"#fff"},{"label":"Average Management","data":[64,36],"backgroundColor":["#fbbf24","#6c757d"],"borderWidth":3,"borderColor":"#fff"}]},"options":{"responsive":true,"maintainAspectRatio":false,"backgroundColor":"transparent","cutout":"40%","plugins":{"legend":{"display":false},"tooltip":{"enabled":true,"backgroundColor":"rgba(0,0,0,0.8)","titleColor":"#fff","bodyColor":"#fff"}},"elements":{"arc":{"borderWidth":3,"borderColor":"#fff"}}}}
Position Upside Potential
Breakout potential by position - more stars indicate greater upside opportunity