
Jerry Jones' Oncologists
Jerry Jones' Oncologists
All Procrastinators
Want a Spicier Take? Need a Little Encouragement? Try Changing the Tone of your Report!

Your Draft Report Card Is Here, Jerry Jones' Oncologists - Let's Break Down How You Did
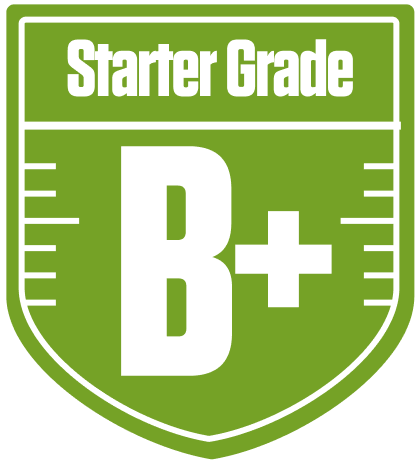
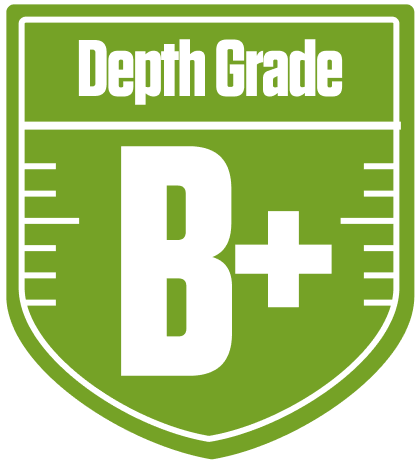
Howdy, Jerry Jones' Oncologists! You’ve put together a solid B+ grade squad in the competitive 12-team All Procrastinators league, and that’s no small feat. With a balanced roster that leans heavily on a powerhouse running back group, you’re well-positioned to make a playoff push this season. The league’s standard redraft format with 1 QB, 2 RB, 2 WR, 1 TE, 1 DEF, 1 K, and 2 flex spots means every starter counts, and your team’s depth on the ground gives you a distinct edge.
Your playoff chances hover in the middle to upper tier, with a good shot if things break your way. But there’s some work to do, especially at wide receiver and tight end, where your starters have struggled. We’ll dive into how your team’s strengths and weaknesses stack up, plus some strategic moves to keep you in the hunt. Let’s get into the nitty-gritty and see how you can turn this B+ into a championship-winning squad!
Your Grades By Position
Quarterback

Running Back

Wide Receiver

Team Defense

Kicker
Tight End
Quarterback
Running Back
Wide Receiver
Team Defense
Kicker
Tight End
Playoff Chances
{"type":"doughnut","data":{"labels":["Make the Playoffs","Miss the Playoffs","Make the Playoffs","Miss the Playoffs","Make the Playoffs","Miss the Playoffs"],"datasets":[{"label":"Great Management","data":[72,28],"backgroundColor":["#3b82f6","#6c757d"],"borderWidth":3,"borderColor":"#fff"},{"label":"Good Management","data":[63,37],"backgroundColor":["#22c55e","#6c757d"],"borderWidth":3,"borderColor":"#fff"},{"label":"Average Management","data":[52,48],"backgroundColor":["#fbbf24","#6c757d"],"borderWidth":3,"borderColor":"#fff"}]},"options":{"responsive":true,"maintainAspectRatio":false,"backgroundColor":"transparent","cutout":"40%","plugins":{"legend":{"display":false},"tooltip":{"enabled":true,"backgroundColor":"rgba(0,0,0,0.8)","titleColor":"#fff","bodyColor":"#fff"}},"elements":{"arc":{"borderWidth":3,"borderColor":"#fff"}}}}
Position Upside Potential
Breakout potential by position - more stars indicate greater upside opportunity