Hawk Tua, Waddle on that thang
Hawk Tua, Waddle on that thang
All Procrastinators
Want a Spicier Take? Need a Little Encouragement? Try Changing the Tone of your Report!



Your Draft Report Card Is Here, Hawk Tua, Waddle on that thang - Let's Break Down How You Did
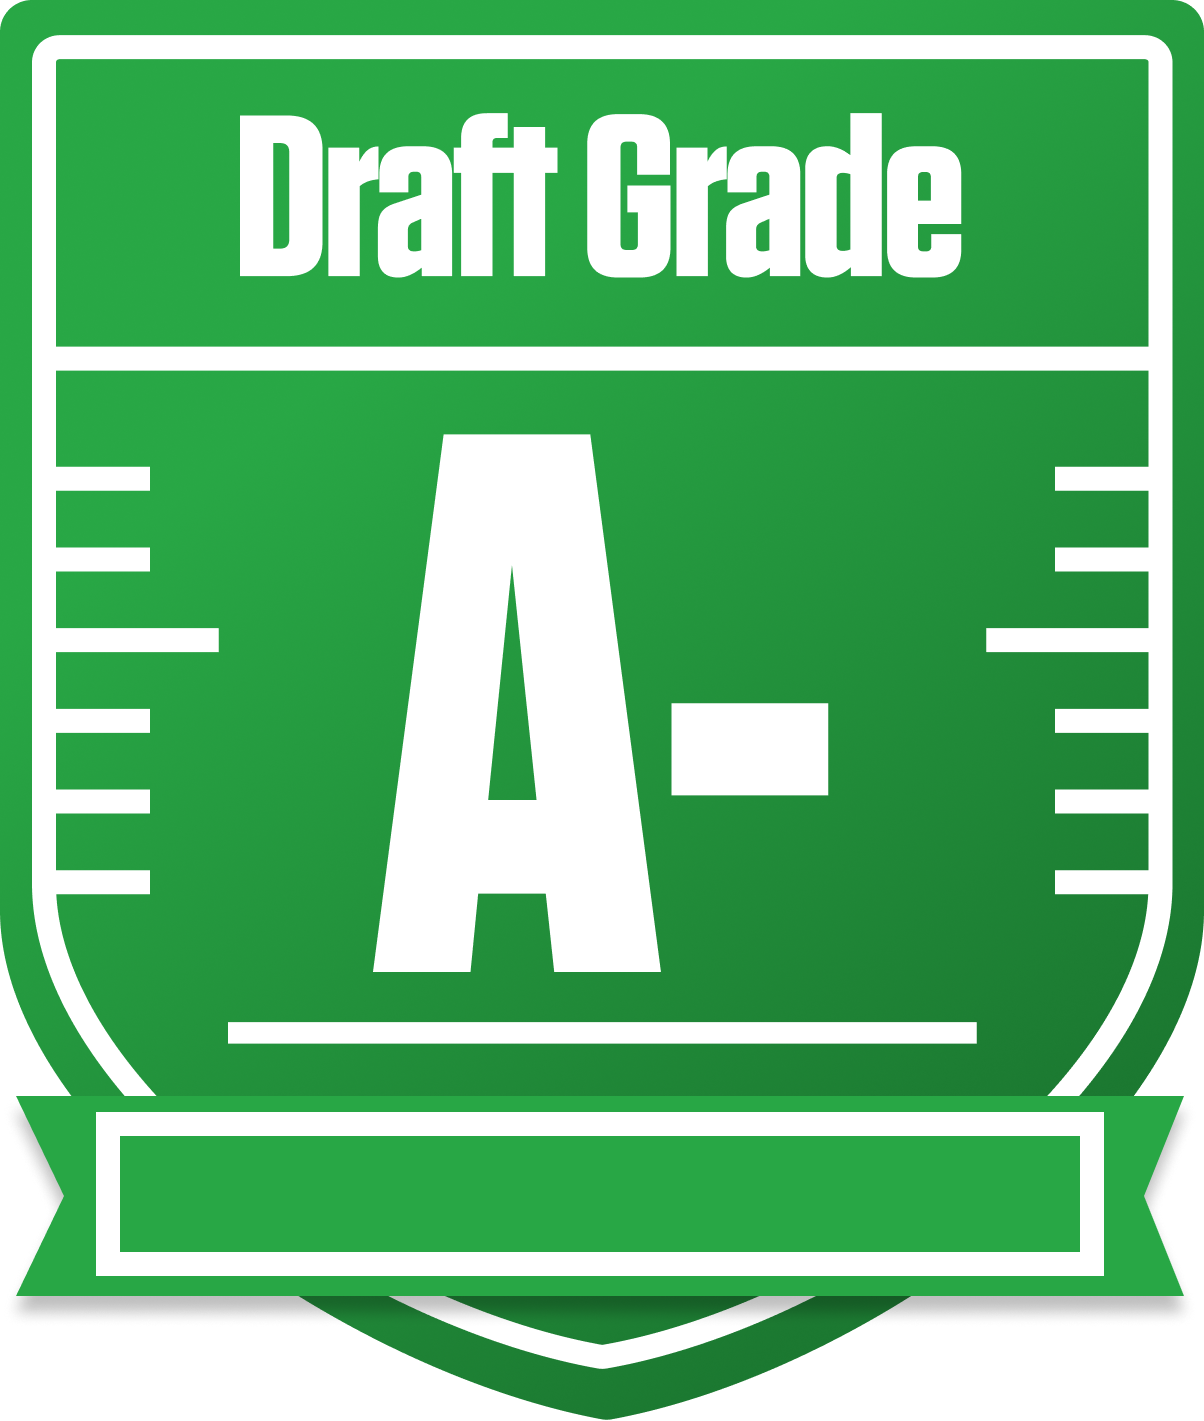
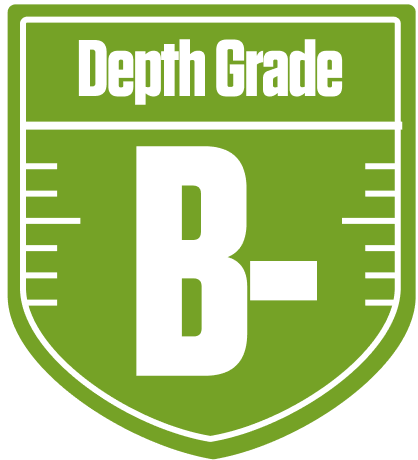
Welcome to your personalized draft report for the Hawk Tua, Waddle on that thang in the All Procrastinators league! With a solid overall grade of A-, you’ve clearly built a team that’s ready to compete this season. Your roster construction shines brightest at running back, where you’ve stacked a powerhouse group that should consistently deliver top-tier production. However, your wide receiver corps is a mixed bag, and your quarterback depth leaves a bit to be desired, which could be a concern in tight matchups.
This 12-team redraft league’s settings, including return yards scoring and two flex spots, reward versatile players and depth, so your bench quality will be important. Your playoff chances look promising, hovering around the mid-50s to low 70s percentile depending on how things shake out. We’ll dive into your team’s strengths, weaknesses, and strategic moves you can make to maximize your chances of hoisting that trophy. Let’s get into the nitty-gritty and see how you can turn this solid foundation into a championship contender!
Your Grades By Position
Quarterback


Running Back


Wide Receiver


Team Defense


Kicker


Tight End


Quarterback


Running Back


Wide Receiver


Team Defense


Kicker


Tight End


Playoff Chances
{"type":"doughnut","data":{"labels":["Make the Playoffs","Miss the Playoffs","Make the Playoffs","Miss the Playoffs","Make the Playoffs","Miss the Playoffs"],"datasets":[{"label":"Great Management","data":[73,27],"backgroundColor":["#3b82f6","#6c757d"],"borderWidth":3,"borderColor":"#fff"},{"label":"Good Management","data":[65,35],"backgroundColor":["#22c55e","#6c757d"],"borderWidth":3,"borderColor":"#fff"},{"label":"Average Management","data":[54,46],"backgroundColor":["#fbbf24","#6c757d"],"borderWidth":3,"borderColor":"#fff"}]},"options":{"responsive":true,"maintainAspectRatio":false,"backgroundColor":"transparent","cutout":"40%","plugins":{"legend":{"display":false},"tooltip":{"enabled":true,"backgroundColor":"rgba(0,0,0,0.8)","titleColor":"#fff","bodyColor":"#fff"}},"elements":{"arc":{"borderWidth":3,"borderColor":"#fff"}}}}
Position Upside Potential
Breakout potential by position - more stars indicate greater upside opportunity