
Team 23
Team 23
All Procrastinators
Want a Spicier Take? Need a Little Encouragement? Try Changing the Tone of your Report!


Your Draft Report Card Is Here, Team 23 - Let's Break Down How You Did
Welcome to the deep dive on Team 23 from the All Procrastinators league! This redraft squad earned an overall grade of C-, signaling a middle-of-the-road draft performance with clear strengths and some glaring weaknesses. With a 12-team setup featuring standard roster spots and return yards scoring, your team’s construction leans heavily on wide receivers, while the running back group looks shaky. The playoff chances hover around 28% on average, so there’s work to be done to push into that sweet 40%+ range.
Your team’s approach shows a “Boom or Bust” flavor, with high upside at WR and solid QB depth, but the running backs and tight ends are a concern. The bye week conflicts at WR and some questionable starter grades suggest you’ll need to be active on the waiver wire and possibly explore trades. Let’s unpack the details below and highlight where you can capitalize and where you need to patch holes to make a playoff run.
Your Grades By Position
Quarterback


Running Back

Wide Receiver

Team Defense

Kicker

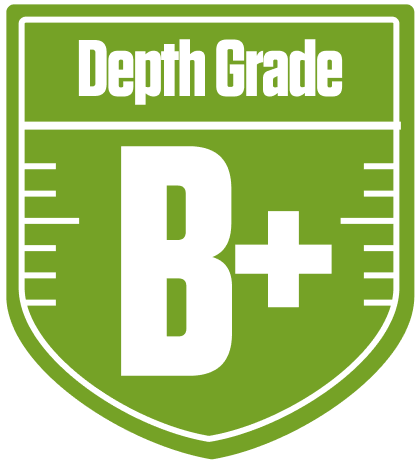
Tight End

Quarterback
Running Back
Wide Receiver
Team Defense
Kicker
Tight End
Playoff Chances
{"type":"doughnut","data":{"labels":["Make the Playoffs","Miss the Playoffs","Make the Playoffs","Miss the Playoffs","Make the Playoffs","Miss the Playoffs"],"datasets":[{"label":"Great Management","data":[44,56],"backgroundColor":["#3b82f6","#6c757d"],"borderWidth":3,"borderColor":"#fff"},{"label":"Good Management","data":[35,65],"backgroundColor":["#22c55e","#6c757d"],"borderWidth":3,"borderColor":"#fff"},{"label":"Average Management","data":[28,72],"backgroundColor":["#fbbf24","#6c757d"],"borderWidth":3,"borderColor":"#fff"}]},"options":{"responsive":true,"maintainAspectRatio":false,"backgroundColor":"transparent","cutout":"40%","plugins":{"legend":{"display":false},"tooltip":{"enabled":true,"backgroundColor":"rgba(0,0,0,0.8)","titleColor":"#fff","bodyColor":"#fff"}},"elements":{"arc":{"borderWidth":3,"borderColor":"#fff"}}}}
Position Upside Potential
Breakout potential by position - more stars indicate greater upside opportunity