Buns of Steel
Buns of Steel
A Football Life
Want a Spicier Take? Need a Little Encouragement? Try Changing the Tone of your Report!


Buns of Steel Draft Report Card Is Here - Let’s Break Down How You Did
Welcome to your personalized draft analysis for the Buns of Steel in the A Football Life league! This 12-team redraft league with standard roster settings and some unique scoring bonuses like First Down Bonuses and Return Yards sets the stage for a competitive season. Your team earned an overall grade of C, signaling a middle-of-the-pack squad with clear strengths and some glaring weaknesses. With a projected starting lineup scoring just over 102 points per week and a total roster projection north of 176 points, you’re in a decent spot but will need to maximize your assets to push into the playoffs.
Your playoff chances hover around the average mark, with a 33% shot at sneaking in, but there’s room to improve to the “good” or “great” tiers if things break right. The team’s backbone is a rock-solid running back group, but the quarterback and tight end spots leave some questions. We’ll dive into how your roster construction, bye week conflicts, and potential waiver wire moves can help you turn this C grade into a contender. Let’s get into the nitty-gritty and see how Buns of Steel can flex those fantasy muscles this season!
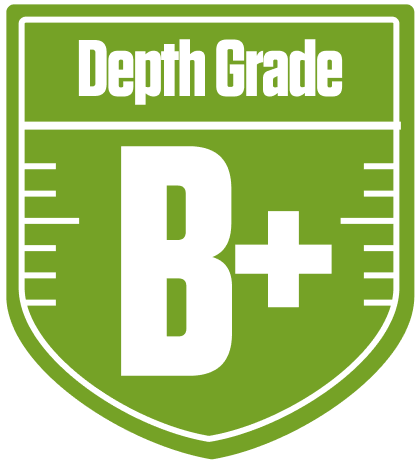
Your Grades By Position
Quarterback


Running Back


Wide Receiver


Tight End


Team Defense


Kicker


Quarterback


Running Back


Wide Receiver


Tight End


Team Defense


Kicker


Playoff Chances
{"type":"doughnut","data":{"labels":["Make the Playoffs","Miss the Playoffs","Make the Playoffs","Miss the Playoffs","Make the Playoffs","Miss the Playoffs"],"datasets":[{"label":"Great Management","data":[52,48],"backgroundColor":["#3b82f6","#6c757d"],"borderWidth":3,"borderColor":"#fff"},{"label":"Good Management","data":[42,58],"backgroundColor":["#22c55e","#6c757d"],"borderWidth":3,"borderColor":"#fff"},{"label":"Average Management","data":[33,67],"backgroundColor":["#fbbf24","#6c757d"],"borderWidth":3,"borderColor":"#fff"}]},"options":{"responsive":true,"maintainAspectRatio":false,"backgroundColor":"transparent","cutout":"40%","plugins":{"legend":{"display":false},"tooltip":{"enabled":true,"backgroundColor":"rgba(0,0,0,0.8)","titleColor":"#fff","bodyColor":"#fff"}},"elements":{"arc":{"borderWidth":3,"borderColor":"#fff"}}}}
Position Upside Potential
Breakout potential by position - more stars indicate greater upside opportunity