Some Pulp
Some Pulp
A Football Life
Want a Spicier Take? Need a Little Encouragement? Try Changing the Tone of your Report!


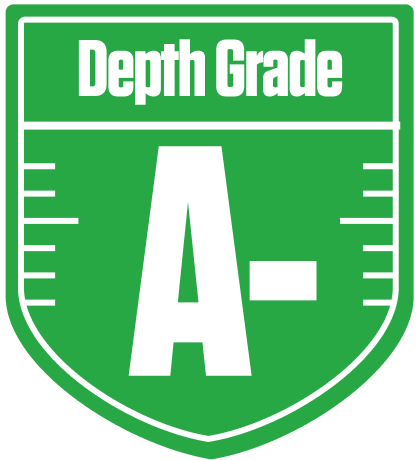


Your Draft Report Card Is Here, Some Pulp - Let's Break Down How You Did
Welcome to the deep dive on Some Pulp's 12-team redraft league squad in A Football Life. This report covers your draft results, highlighting your team's overall A+ grade, which signals a top-tier roster built to compete for the playoffs with a strong 81% chance at a great postseason run. Your league's unique scoring with first down bonuses and return yards adds an exciting twist, rewarding players who can consistently move the chains and make big plays on special teams.
Your roster construction shows a bold approach, especially with a star-studded wide receiver group and a high-upside quarterback tandem. However, some position groups reveal vulnerabilities that could challenge your championship aspirations. We'll unpack these strengths and weaknesses, plus bye week conflicts and strategic moves to keep you on track. Stick around for tailored recommendations to maximize your team's potential and outsmart your competition in this competitive redraft setting.
Your Grades By Position
Quarterback


Running Back


Wide Receiver


Tight End


Team Defense


Kicker


Quarterback


Running Back


Wide Receiver


Tight End


Team Defense


Kicker


Playoff Chances
{"type":"doughnut","data":{"labels":["Make the Playoffs","Miss the Playoffs","Make the Playoffs","Miss the Playoffs","Make the Playoffs","Miss the Playoffs"],"datasets":[{"label":"Great Management","data":[81,19],"backgroundColor":["#3b82f6","#6c757d"],"borderWidth":3,"borderColor":"#fff"},{"label":"Good Management","data":[76,24],"backgroundColor":["#22c55e","#6c757d"],"borderWidth":3,"borderColor":"#fff"},{"label":"Average Management","data":[68,32],"backgroundColor":["#fbbf24","#6c757d"],"borderWidth":3,"borderColor":"#fff"}]},"options":{"responsive":true,"maintainAspectRatio":false,"backgroundColor":"transparent","cutout":"40%","plugins":{"legend":{"display":false},"tooltip":{"enabled":true,"backgroundColor":"rgba(0,0,0,0.8)","titleColor":"#fff","bodyColor":"#fff"}},"elements":{"arc":{"borderWidth":3,"borderColor":"#fff"}}}}
Position Upside Potential
Breakout potential by position - more stars indicate greater upside opportunity