Deez Nuttz
Deez Nuttz
A Football Life
Want a Spicier Take? Need a Little Encouragement? Try Changing the Tone of your Report!
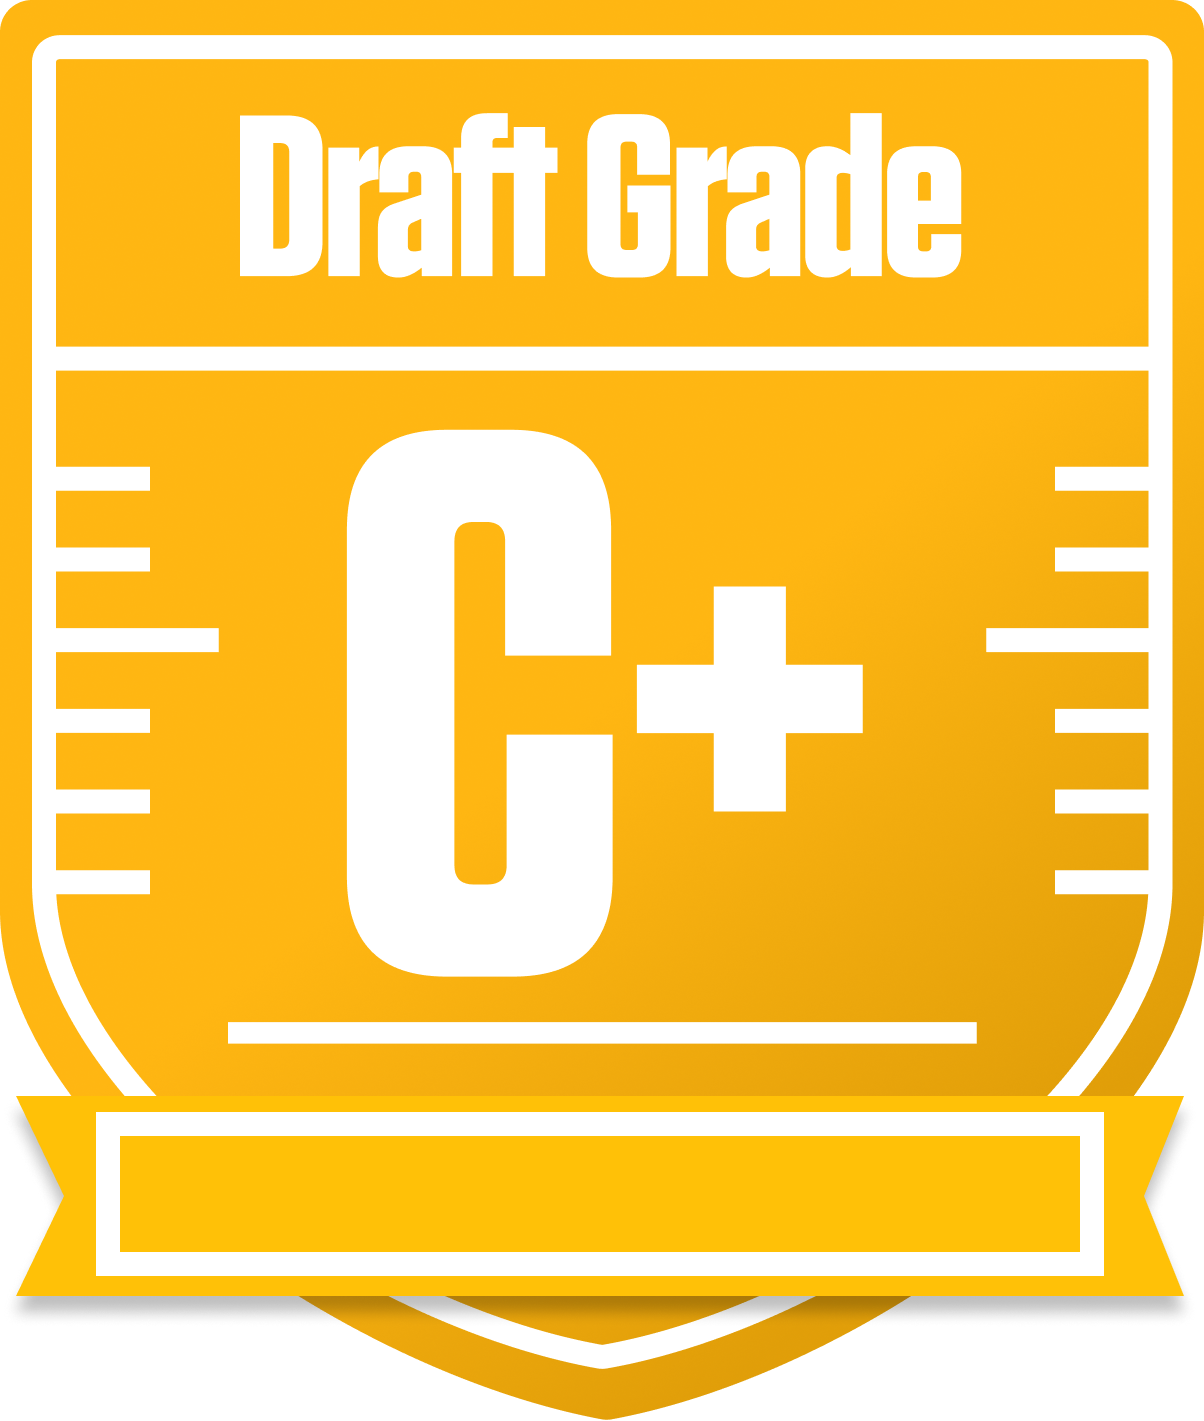
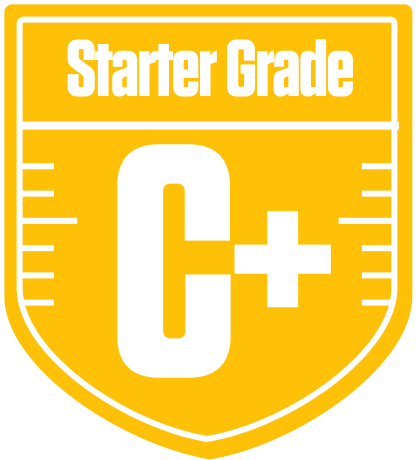
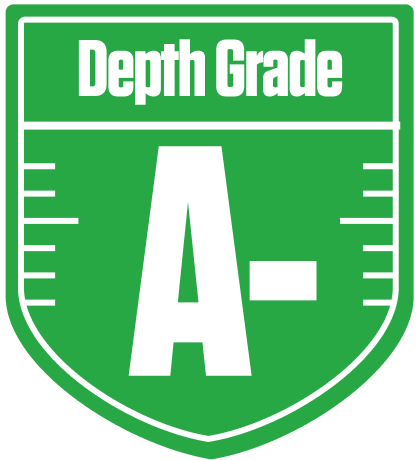


Your Draft Report Card Is Here, Deez Nuttz - Let's Break Down How You Did
Welcome to the deep dive on the Deez Nuttz squad in the A Football Life league! This 12-team redraft league with unique scoring bonuses for first downs and return yards sets the stage for some interesting roster construction. Your team earned a solid C+ overall grade, showing some clear strengths but also areas that need shoring up if you want to make a serious playoff push. With a 41% average chance to reach the postseason, you’re in the hunt but can’t afford to be complacent.
Your quarterback group shines bright with an A+ grade, giving you a strong foundation in a league that only starts one QB. Meanwhile, your running backs and wide receivers show a mixed bag, with starters at RB graded C and WRs struggling overall. The tight end and defense units offer some intriguing upside, but bench depth at WR is a glaring weak spot. Let’s unpack how these pieces fit together and what moves could elevate your team to the next level.
Your Grades By Position
Quarterback


Running Back


Wide Receiver


Tight End


Team Defense


Kicker


Quarterback


Running Back


Wide Receiver


Tight End


Team Defense


Kicker


Playoff Chances
{"type":"doughnut","data":{"labels":["Make the Playoffs","Miss the Playoffs","Make the Playoffs","Miss the Playoffs","Make the Playoffs","Miss the Playoffs"],"datasets":[{"label":"Great Management","data":[61,39],"backgroundColor":["#3b82f6","#6c757d"],"borderWidth":3,"borderColor":"#fff"},{"label":"Good Management","data":[51,49],"backgroundColor":["#22c55e","#6c757d"],"borderWidth":3,"borderColor":"#fff"},{"label":"Average Management","data":[41,59],"backgroundColor":["#fbbf24","#6c757d"],"borderWidth":3,"borderColor":"#fff"}]},"options":{"responsive":true,"maintainAspectRatio":false,"backgroundColor":"transparent","cutout":"40%","plugins":{"legend":{"display":false},"tooltip":{"enabled":true,"backgroundColor":"rgba(0,0,0,0.8)","titleColor":"#fff","bodyColor":"#fff"}},"elements":{"arc":{"borderWidth":3,"borderColor":"#fff"}}}}
Position Upside Potential
Breakout potential by position - more stars indicate greater upside opportunity