High St Homies
High St Homies
A Football Life
Want a Spicier Take? Need a Little Encouragement? Try Changing the Tone of your Report!


High St Homies Draft Report Card Is Here - Let’s Break Down How You Did
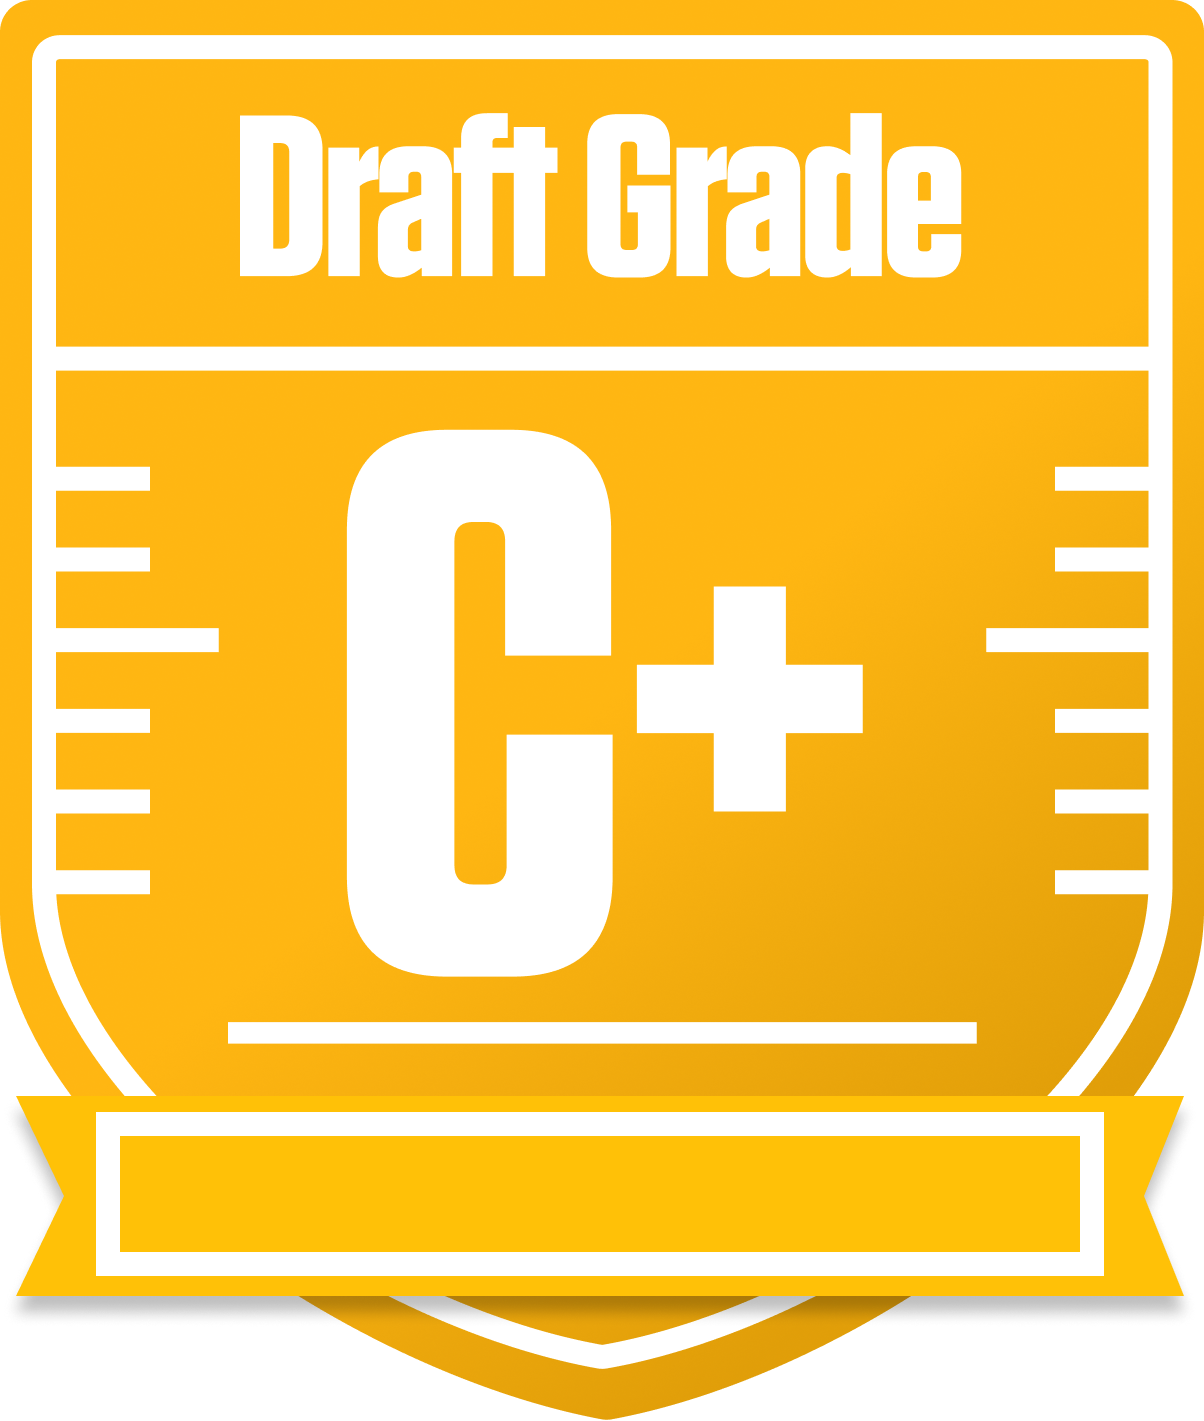
The High St Homies have wrapped up their redraft draft with a solid C+ overall grade, placing them in the middle of the pack in the competitive 12-team “A Football Life” league. With standard roster settings and scoring that rewards first down bonuses and return yards, this team’s construction shows some clear strengths and notable weaknesses. Their running back group shines bright, while the tight end spot is a mixed bag of low starting value but strong bench depth.
This report dives into how the team’s draft results stack up for this season’s playoff push, with a 40-60% range of playoff chances depending on how things shake out. We’ll highlight key positional advantages, bye week challenges, and strategic moves to help the High St Homies maximize their chances in this redraft format. Let’s get into the nitty-gritty and see where this team can steal wins and where they might need to hustle on the waiver wire or trade block.
Your Grades By Position
Quarterback


Running Back


Wide Receiver


Tight End


Team Defense


Kicker


Quarterback


Running Back


Wide Receiver


Tight End


Team Defense


Kicker


Playoff Chances
{"type":"doughnut","data":{"labels":["Make the Playoffs","Miss the Playoffs","Make the Playoffs","Miss the Playoffs","Make the Playoffs","Miss the Playoffs"],"datasets":[{"label":"Great Management","data":[60,40],"backgroundColor":["#3b82f6","#6c757d"],"borderWidth":3,"borderColor":"#fff"},{"label":"Good Management","data":[50,50],"backgroundColor":["#22c55e","#6c757d"],"borderWidth":3,"borderColor":"#fff"},{"label":"Average Management","data":[40,60],"backgroundColor":["#fbbf24","#6c757d"],"borderWidth":3,"borderColor":"#fff"}]},"options":{"responsive":true,"maintainAspectRatio":false,"backgroundColor":"transparent","cutout":"40%","plugins":{"legend":{"display":false},"tooltip":{"enabled":true,"backgroundColor":"rgba(0,0,0,0.8)","titleColor":"#fff","bodyColor":"#fff"}},"elements":{"arc":{"borderWidth":3,"borderColor":"#fff"}}}}
Position Upside Potential
Breakout potential by position - more stars indicate greater upside opportunity