Team Massimini
Team Massimini
A Football Life
Want a Spicier Take? Need a Little Encouragement? Try Changing the Tone of your Report!


Your Draft Report Card Is Here, Team Massimini - Let's Break Down How You Did
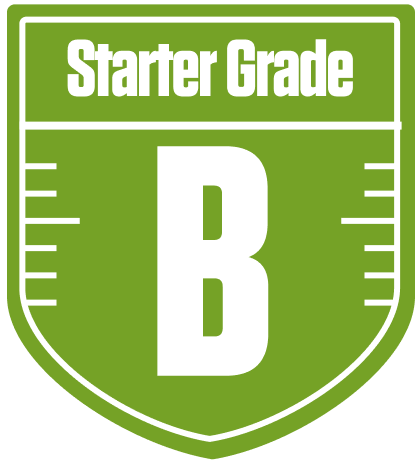
Welcome to the deep dive on Team Massimini from the A Football Life league! This 12-team redraft league with unique scoring bonuses for first downs and return yards sets the stage for some interesting roster construction. Your team earned a solid overall grade of B, showing a well-rounded squad with particular strengths in the running back and wide receiver groups. With a projected starting lineup scoring north of 108 points weekly and a total roster projection over 163 points, you’re positioned to compete.
Your playoff chances hover in the middle tier, with a good shot if things break right, but there’s room to tighten up some areas. The league’s single QB and two-flex setup means your depth and flexibility at RB and WR are crucial, and you’ve done well there. However, some position groups like QB and TE could use shoring up. Let’s unpack where your team shines, where it stumbles, and how you can leverage Footballguys tools to push your squad into the winner’s circle this season.
Your Grades By Position
Quarterback


Running Back


Wide Receiver


Tight End


Team Defense


Kicker


Quarterback


Running Back


Wide Receiver


Tight End


Team Defense


Kicker


Playoff Chances
{"type":"doughnut","data":{"labels":["Make the Playoffs","Miss the Playoffs","Make the Playoffs","Miss the Playoffs","Make the Playoffs","Miss the Playoffs"],"datasets":[{"label":"Great Management","data":[68,32],"backgroundColor":["#3b82f6","#6c757d"],"borderWidth":3,"borderColor":"#fff"},{"label":"Good Management","data":[59,41],"backgroundColor":["#22c55e","#6c757d"],"borderWidth":3,"borderColor":"#fff"},{"label":"Average Management","data":[48,52],"backgroundColor":["#fbbf24","#6c757d"],"borderWidth":3,"borderColor":"#fff"}]},"options":{"responsive":true,"maintainAspectRatio":false,"backgroundColor":"transparent","cutout":"40%","plugins":{"legend":{"display":false},"tooltip":{"enabled":true,"backgroundColor":"rgba(0,0,0,0.8)","titleColor":"#fff","bodyColor":"#fff"}},"elements":{"arc":{"borderWidth":3,"borderColor":"#fff"}}}}
Position Upside Potential
Breakout potential by position - more stars indicate greater upside opportunity