
No Nabers in the Standingz
No Nabers in the Standingz
A Football Life
Want a Spicier Take? Need a Little Encouragement? Try Changing the Tone of your Report!
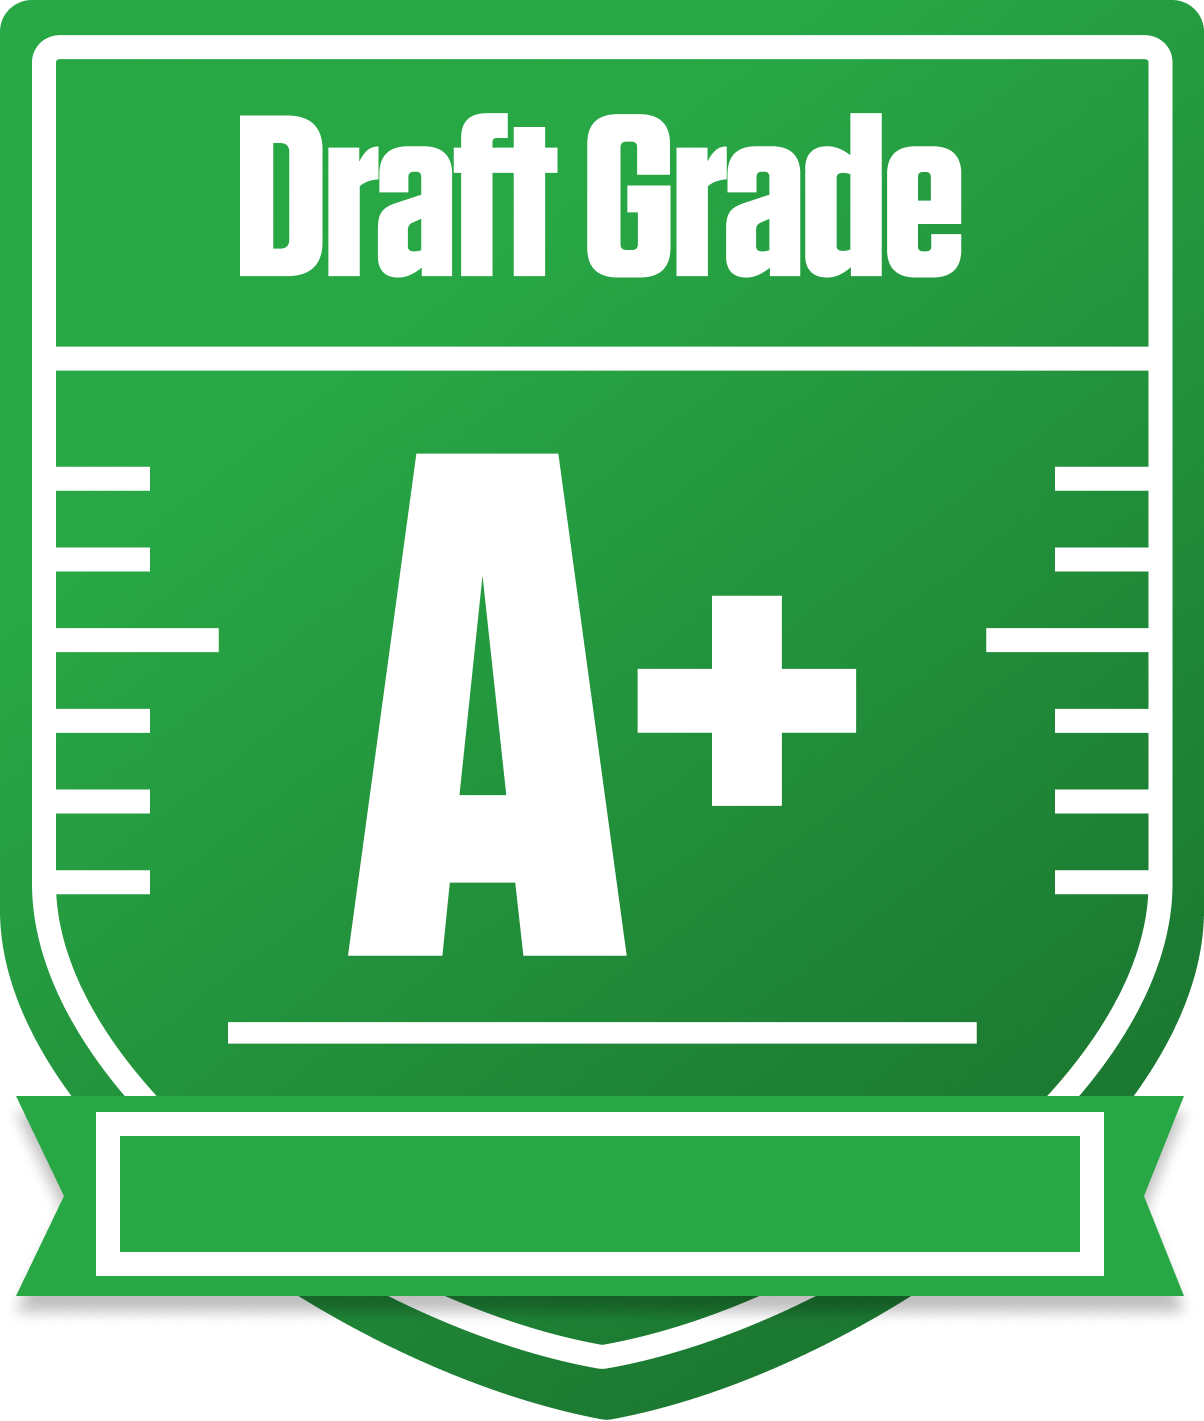

No Nabers in the Standingz Draft Report Card Is Here - A Football Life Breakdown
The No Nabers in the Standingz have put together an A+ overall grade in this 12-team redraft league, A Football Life, showcasing a well-rounded and competitive squad. With a roster built for strong weekly production, especially at WR and QB, this team is primed to make a serious playoff push. The league’s unique scoring with first down bonuses and return yards adds an extra layer of strategy, and this team’s construction reflects a savvy approach to maximizing those points.
While the starters shine with top-tier grades, the bench depth is equally impressive, particularly at WR and RB, giving the team flexibility and injury insurance. However, the kicker position is a glaring weak spot, dragging down the overall special teams grade. This report will dive into the strengths that make this team a contender, the vulnerabilities that could trip them up, and strategic moves to keep them on top in this competitive redraft setting.
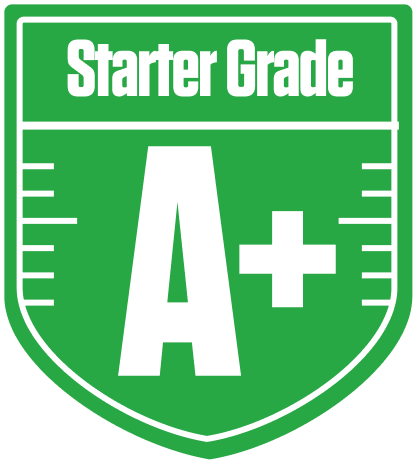
Your Grades By Position
Quarterback

Running Back

Wide Receiver
Tight End

Team Defense

Kicker
Quarterback
Running Back
Wide Receiver
Tight End
Team Defense
Kicker
Playoff Chances
{"type":"doughnut","data":{"labels":["Make the Playoffs","Miss the Playoffs","Make the Playoffs","Miss the Playoffs","Make the Playoffs","Miss the Playoffs"],"datasets":[{"label":"Great Management","data":[81,19],"backgroundColor":["#3b82f6","#6c757d"],"borderWidth":3,"borderColor":"#fff"},{"label":"Good Management","data":[76,24],"backgroundColor":["#22c55e","#6c757d"],"borderWidth":3,"borderColor":"#fff"},{"label":"Average Management","data":[68,32],"backgroundColor":["#fbbf24","#6c757d"],"borderWidth":3,"borderColor":"#fff"}]},"options":{"responsive":true,"maintainAspectRatio":false,"backgroundColor":"transparent","cutout":"40%","plugins":{"legend":{"display":false},"tooltip":{"enabled":true,"backgroundColor":"rgba(0,0,0,0.8)","titleColor":"#fff","bodyColor":"#fff"}},"elements":{"arc":{"borderWidth":3,"borderColor":"#fff"}}}}
Position Upside Potential
Breakout potential by position - more stars indicate greater upside opportunity