MynameisJeff
MynameisJeff
A Football Life
Want a Spicier Take? Need a Little Encouragement? Try Changing the Tone of your Report!
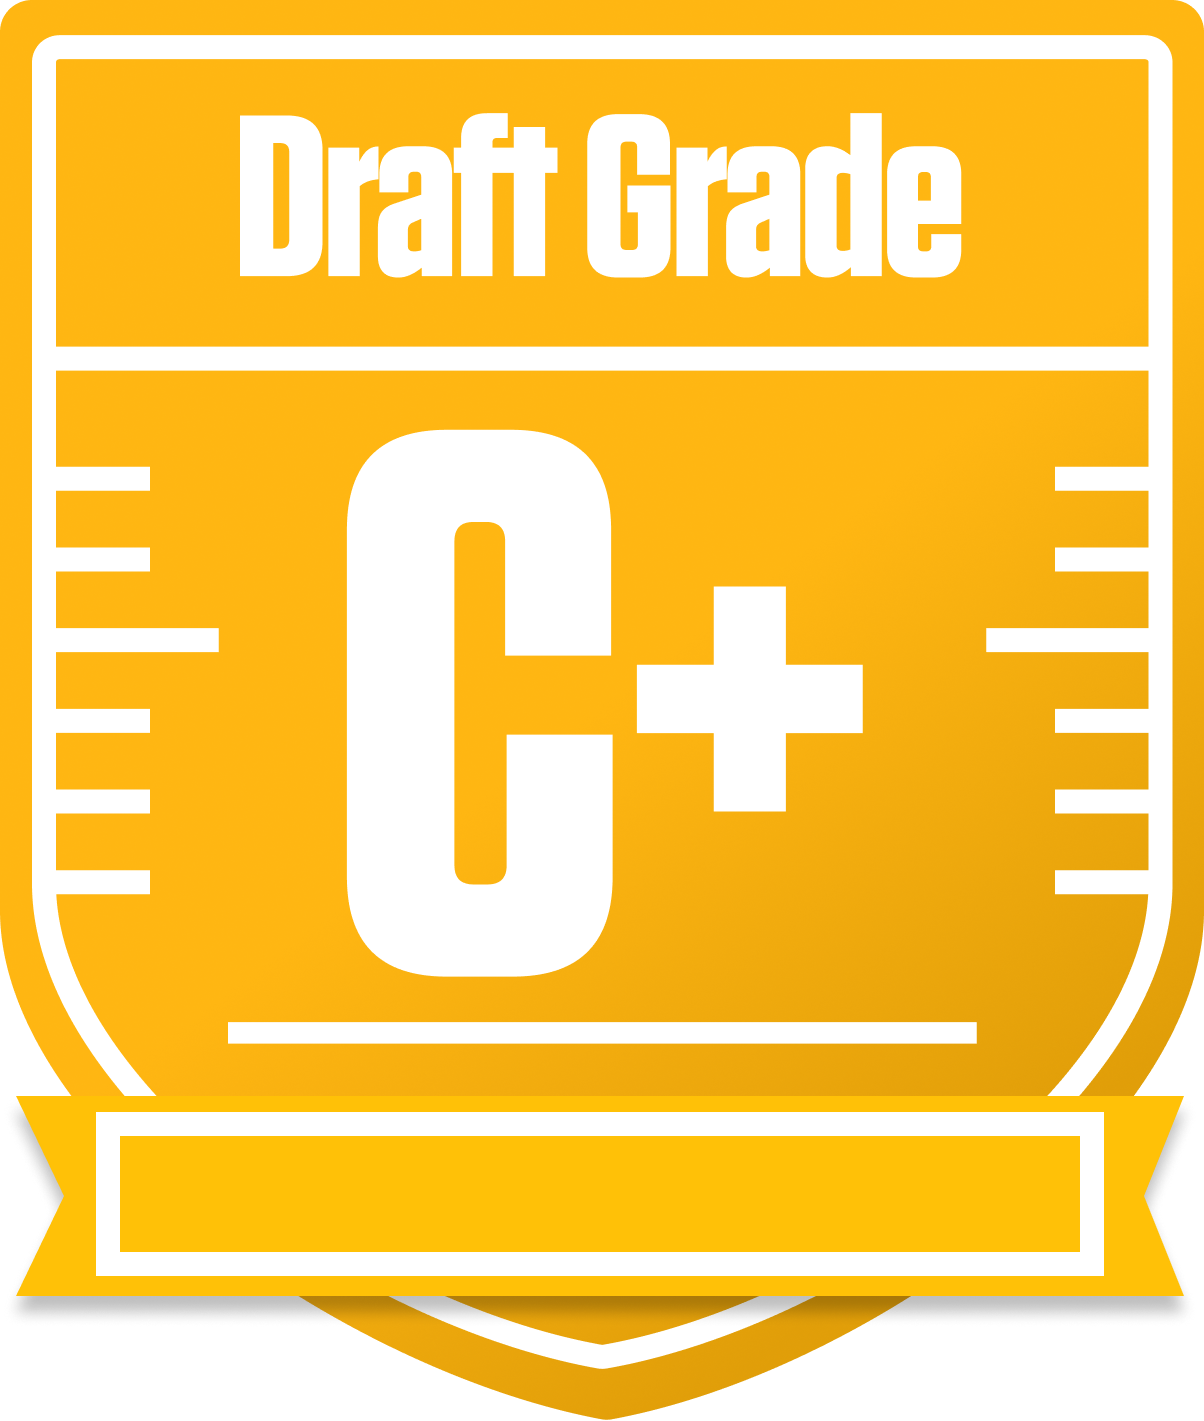

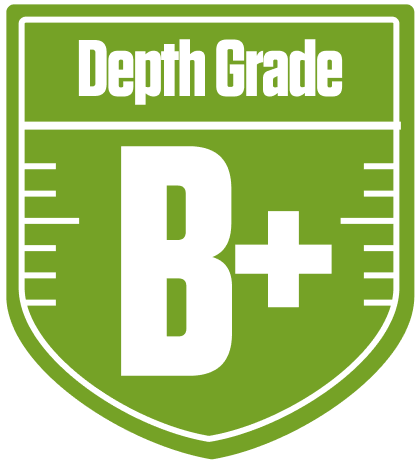


Your Draft Report Card Is Here, MynameisJeff - Let's Break Down How You Did
Howdy, MynameisJeff! Welcome to your personalized redraft league report from the "A Football Life" 12-team showdown. Your team earned a respectable overall grade of C+, showing a solid foundation but with some clear areas to tighten up if you want to make a serious playoff push. With a 37% average chance to reach the postseason, you’re in the hunt but definitely need some breaks and smart moves to get over the hump.
This league’s unique scoring with first down bonuses and return yards adds some spice, rewarding players who can consistently move the chains and make big plays on special teams. Your roster construction leans on strong wide receiver and tight end groups, but the defense and special teams units are dragging the grade down. We’ll dive into your team’s strengths, weaknesses, and bye week quirks below, plus some strategic tips to help you maximize your chances in this competitive redraft format.
Get ready for a fun, insightful breakdown that’ll help you turn those C+ vibes into a winning season!
Your Grades By Position
Quarterback


Running Back


Wide Receiver


Tight End


Team Defense


Kicker


Quarterback


Running Back


Wide Receiver


Tight End


Team Defense


Kicker


Playoff Chances
{"type":"doughnut","data":{"labels":["Make the Playoffs","Miss the Playoffs","Make the Playoffs","Miss the Playoffs","Make the Playoffs","Miss the Playoffs"],"datasets":[{"label":"Great Management","data":[57,43],"backgroundColor":["#3b82f6","#6c757d"],"borderWidth":3,"borderColor":"#fff"},{"label":"Good Management","data":[47,53],"backgroundColor":["#22c55e","#6c757d"],"borderWidth":3,"borderColor":"#fff"},{"label":"Average Management","data":[37,63],"backgroundColor":["#fbbf24","#6c757d"],"borderWidth":3,"borderColor":"#fff"}]},"options":{"responsive":true,"maintainAspectRatio":false,"backgroundColor":"transparent","cutout":"40%","plugins":{"legend":{"display":false},"tooltip":{"enabled":true,"backgroundColor":"rgba(0,0,0,0.8)","titleColor":"#fff","bodyColor":"#fff"}},"elements":{"arc":{"borderWidth":3,"borderColor":"#fff"}}}}
Position Upside Potential
Breakout potential by position - more stars indicate greater upside opportunity