Stuck in the LaPorta Potty
Stuck in the LaPorta Potty
A Football Life
Want a Spicier Take? Need a Little Encouragement? Try Changing the Tone of your Report!
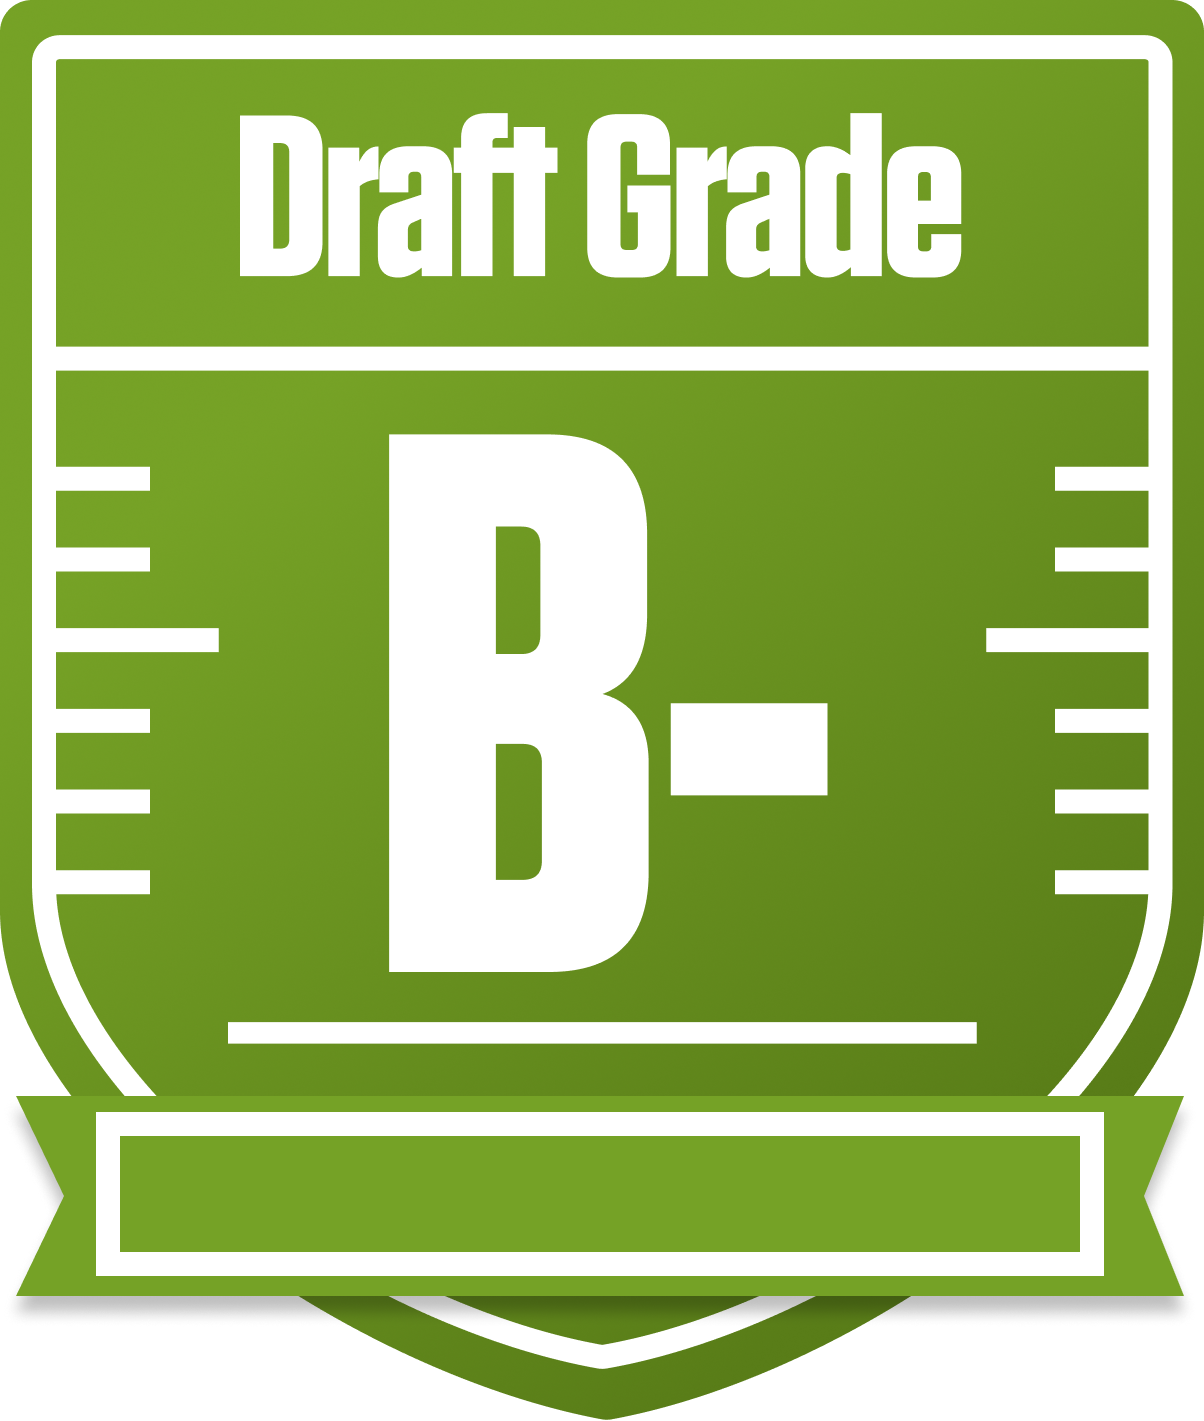

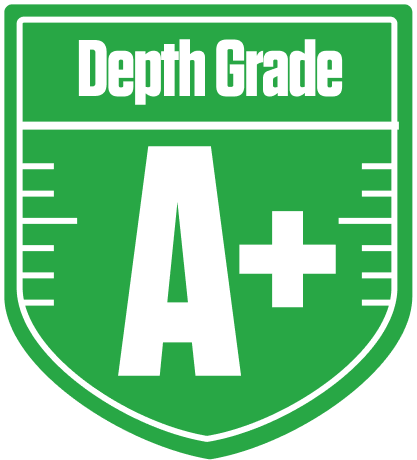


Your Draft Report Card Is Here, Stuck in the LaPorta Potty - Let's Break Down How You Did
Well, well, well, Stuck in the LaPorta Potty has put together a draft that’s got some real shine and a few spots that need a little elbow grease. In this 12-team redraft league, your team earned a respectable overall grade of B-, showing solid strength in the running back and wide receiver corps, but some struggles at quarterback and kicker. With a playoff chance hovering around the low 40s to low 60s depending on how things break, you’re definitely in the mix but can’t afford to get complacent.
Your league’s unique scoring with first down bonuses and return yards adds an interesting twist, rewarding players who can consistently move the chains and make big plays on special teams. This plays right into your hands with a strong RB group and a deep WR bench. But the kicker situation? Sorry, but yikes — that’s a glaring hole. We’ll dive into how you can shore up those weak spots and leverage your strengths to make a playoff push. Let’s get into the nitty-gritty and see what makes this team tick and where it might tank.
Your Grades By Position
Quarterback


Running Back


Wide Receiver


Tight End


Team Defense


Kicker


Quarterback


Running Back


Wide Receiver


Tight End


Team Defense


Kicker


Playoff Chances
{"type":"doughnut","data":{"labels":["Make the Playoffs","Miss the Playoffs","Make the Playoffs","Miss the Playoffs","Make the Playoffs","Miss the Playoffs"],"datasets":[{"label":"Great Management","data":[62,38],"backgroundColor":["#3b82f6","#6c757d"],"borderWidth":3,"borderColor":"#fff"},{"label":"Good Management","data":[52,48],"backgroundColor":["#22c55e","#6c757d"],"borderWidth":3,"borderColor":"#fff"},{"label":"Average Management","data":[41,59],"backgroundColor":["#fbbf24","#6c757d"],"borderWidth":3,"borderColor":"#fff"}]},"options":{"responsive":true,"maintainAspectRatio":false,"backgroundColor":"transparent","cutout":"40%","plugins":{"legend":{"display":false},"tooltip":{"enabled":true,"backgroundColor":"rgba(0,0,0,0.8)","titleColor":"#fff","bodyColor":"#fff"}},"elements":{"arc":{"borderWidth":3,"borderColor":"#fff"}}}}
Position Upside Potential
Breakout potential by position - more stars indicate greater upside opportunity