Hitmen
Hitmen
CDBFFL
Want a Spicier Take? Need a Little Encouragement? Try Changing the Tone of your Report!
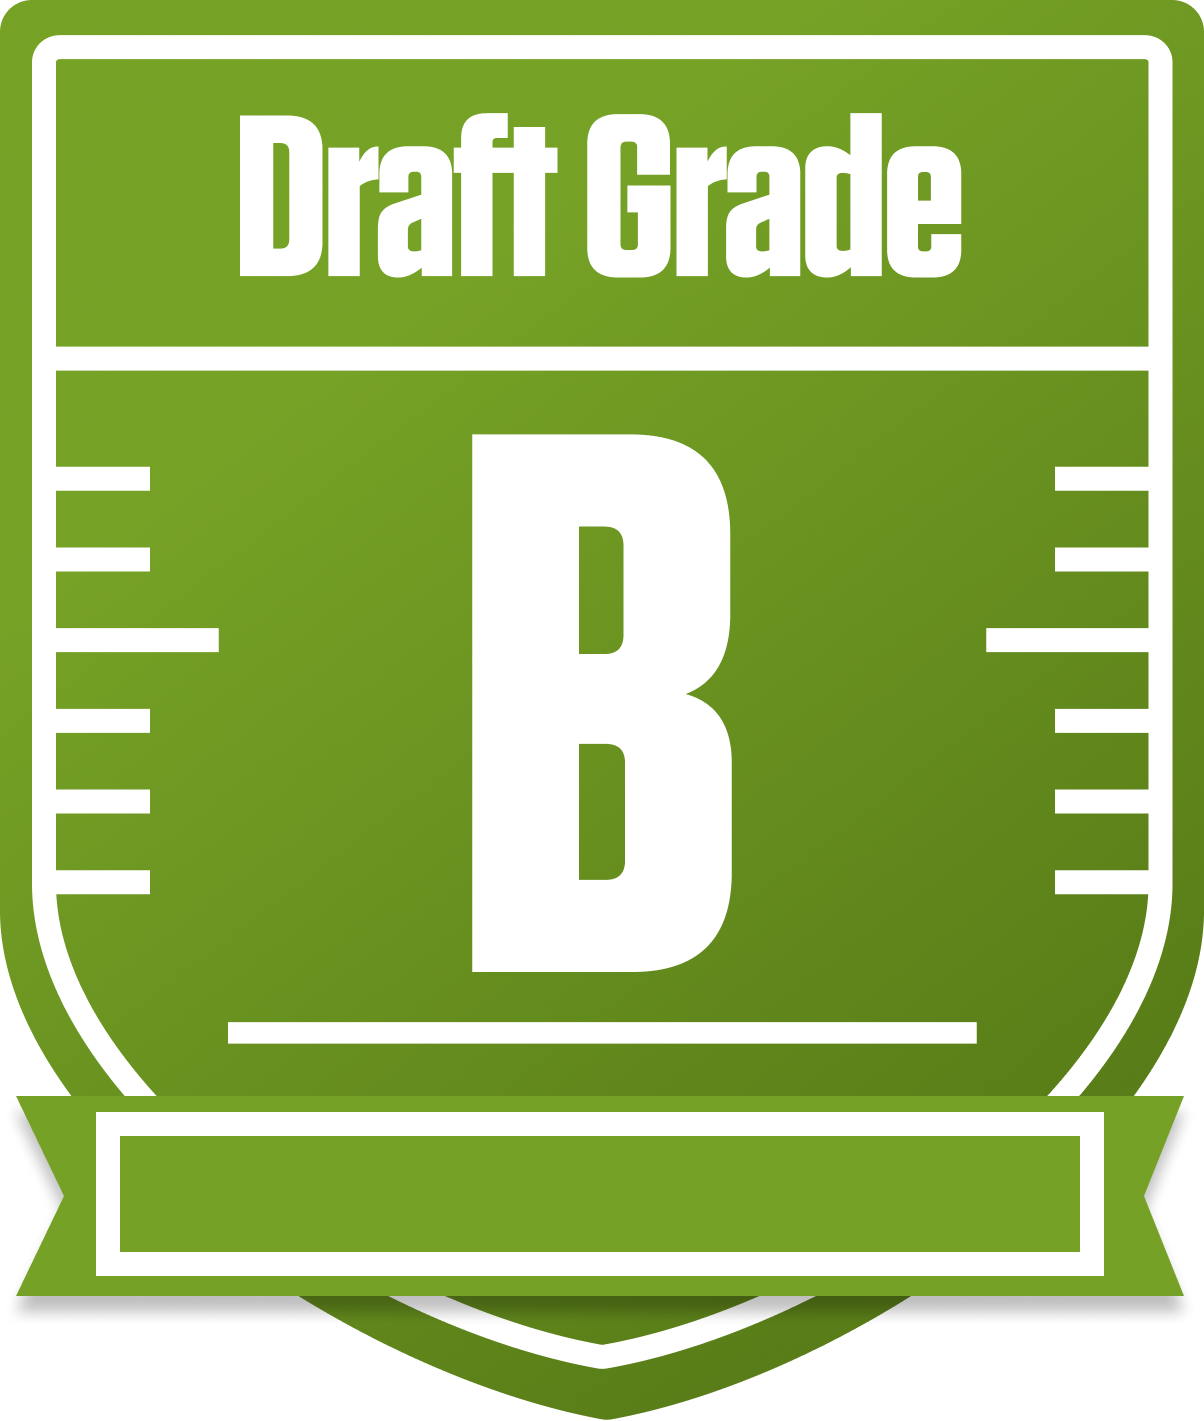


Hitmen's Draft Report Card Is Here - Let's Break Down How You Did
The Hitmen have put together a solid B-grade roster in this 12-team half-PPR redraft league, showing a balanced approach with some clear strengths and notable weaknesses. With a respectable overall grade and a projected point total that stacks up well against the competition, this team is positioned right in the thick of the playoff hunt. The league’s standard setup with one QB, two RBs, two WRs, one TE, and a flex spot means every position counts, and the Hitmen’s roster construction reflects a savvy mix of value picks and breakout potential.
While the team’s wide receiver group shines bright, the running back corps leaves a bit to be desired, and the tight end spot is just average. The quarterback situation is steady but not spectacular, and special teams scoring is a hidden gem on the bench. With playoff chances hovering around the middle of the pack, the Hitmen will need to maximize their strengths and shore up weaknesses to make a deep run. Let’s dive into the details and see where this team can strike gold and where it might stumble on the road to fantasy glory.
Your Grades By Position
Quarterback


Running Back


Wide Receiver


Tight End


Team Defense


Kicker


Quarterback


Running Back


Wide Receiver


Tight End


Team Defense


Kicker


Playoff Chances
{"type":"doughnut","data":{"labels":["Make the Playoffs","Miss the Playoffs","Make the Playoffs","Miss the Playoffs","Make the Playoffs","Miss the Playoffs"],"datasets":[{"label":"Great Management","data":[69,31],"backgroundColor":["#3b82f6","#6c757d"],"borderWidth":3,"borderColor":"#fff"},{"label":"Good Management","data":[59,41],"backgroundColor":["#22c55e","#6c757d"],"borderWidth":3,"borderColor":"#fff"},{"label":"Average Management","data":[48,52],"backgroundColor":["#fbbf24","#6c757d"],"borderWidth":3,"borderColor":"#fff"}]},"options":{"responsive":true,"maintainAspectRatio":false,"backgroundColor":"transparent","cutout":"40%","plugins":{"legend":{"display":false},"tooltip":{"enabled":true,"backgroundColor":"rgba(0,0,0,0.8)","titleColor":"#fff","bodyColor":"#fff"}},"elements":{"arc":{"borderWidth":3,"borderColor":"#fff"}}}}
Position Upside Potential
Breakout potential by position - more stars indicate greater upside opportunity