
SABO
SABO
CDBFFL
Want a Spicier Take? Need a Little Encouragement? Try Changing the Tone of your Report!
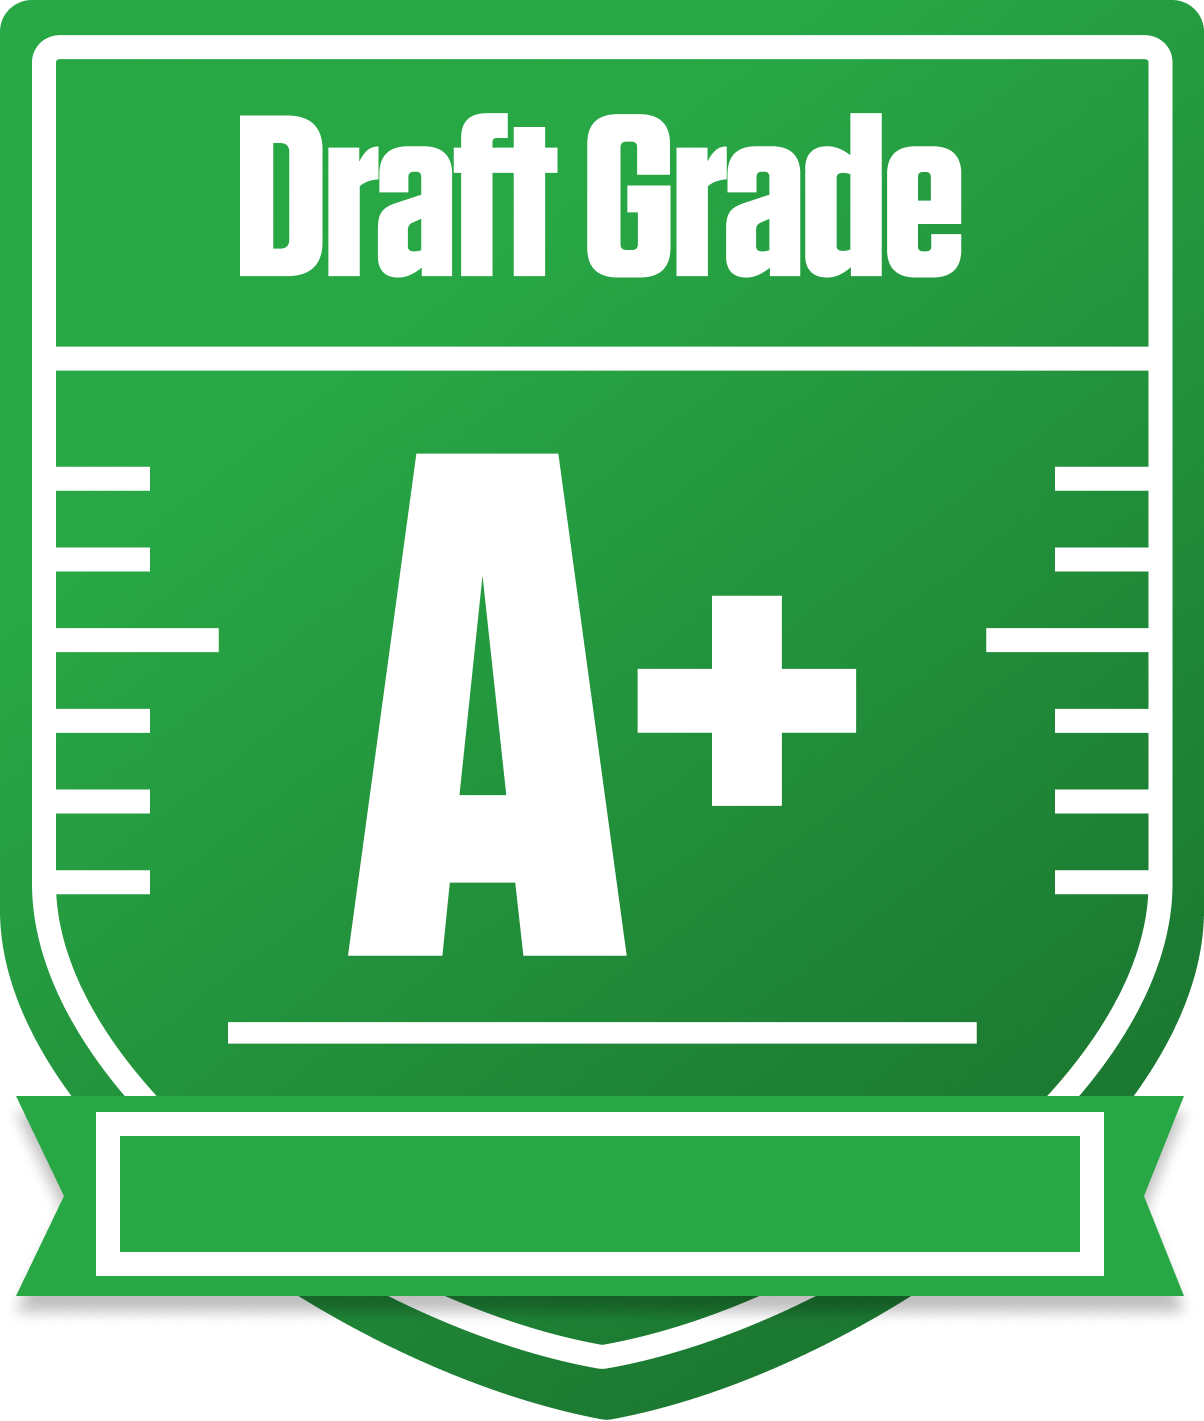
SABO's Draft Report Card Is Here - CDBFFL Half PPR Breakdown
Well, howdy, SABO! You’ve put together a downright impressive squad in this 12-team Half PPR redraft league, earning yourself a shiny A+ overall grade. That’s no small feat, especially with the league’s standard roster settings—one QB, two RBs, two WRs, one TE, and a flex spot. Your team’s strength shines brightest in your starting lineup, where you’ve got a top-notch quarterback and wide receiver group, plus a stellar tight end duo. Your playoff chances look solid, hovering around 65-80%, so you’re definitely in the hunt.
But don’t get too comfy just yet. Your bench depth, especially at running back and wide receiver, leaves a bit to be desired, which could bite you if injuries or bye weeks hit hard. We’ll dive into how your roster construction plays out across positions, where you might want to pounce on waiver wire gems or trades, and how to leverage Footballguys’ tools to keep that A+ grade intact. Let’s break down the good, the bad, and the downright sneaky moves that make SABO a serious contender this season.
Your Grades By Position
Quarterback


Running Back


Wide Receiver

Tight End
Team Defense
Kicker
Quarterback
Running Back
Wide Receiver
Tight End
Team Defense
Kicker
Playoff Chances
{"type":"doughnut","data":{"labels":["Make the Playoffs","Miss the Playoffs","Make the Playoffs","Miss the Playoffs","Make the Playoffs","Miss the Playoffs"],"datasets":[{"label":"Great Management","data":[80,20],"backgroundColor":["#3b82f6","#6c757d"],"borderWidth":3,"borderColor":"#fff"},{"label":"Good Management","data":[74,26],"backgroundColor":["#22c55e","#6c757d"],"borderWidth":3,"borderColor":"#fff"},{"label":"Average Management","data":[65,35],"backgroundColor":["#fbbf24","#6c757d"],"borderWidth":3,"borderColor":"#fff"}]},"options":{"responsive":true,"maintainAspectRatio":false,"backgroundColor":"transparent","cutout":"40%","plugins":{"legend":{"display":false},"tooltip":{"enabled":true,"backgroundColor":"rgba(0,0,0,0.8)","titleColor":"#fff","bodyColor":"#fff"}},"elements":{"arc":{"borderWidth":3,"borderColor":"#fff"}}}}
Position Upside Potential
Breakout potential by position - more stars indicate greater upside opportunity