The Ditkas
The Ditkas
CDBFFL
Want a Spicier Take? Need a Little Encouragement? Try Changing the Tone of your Report!
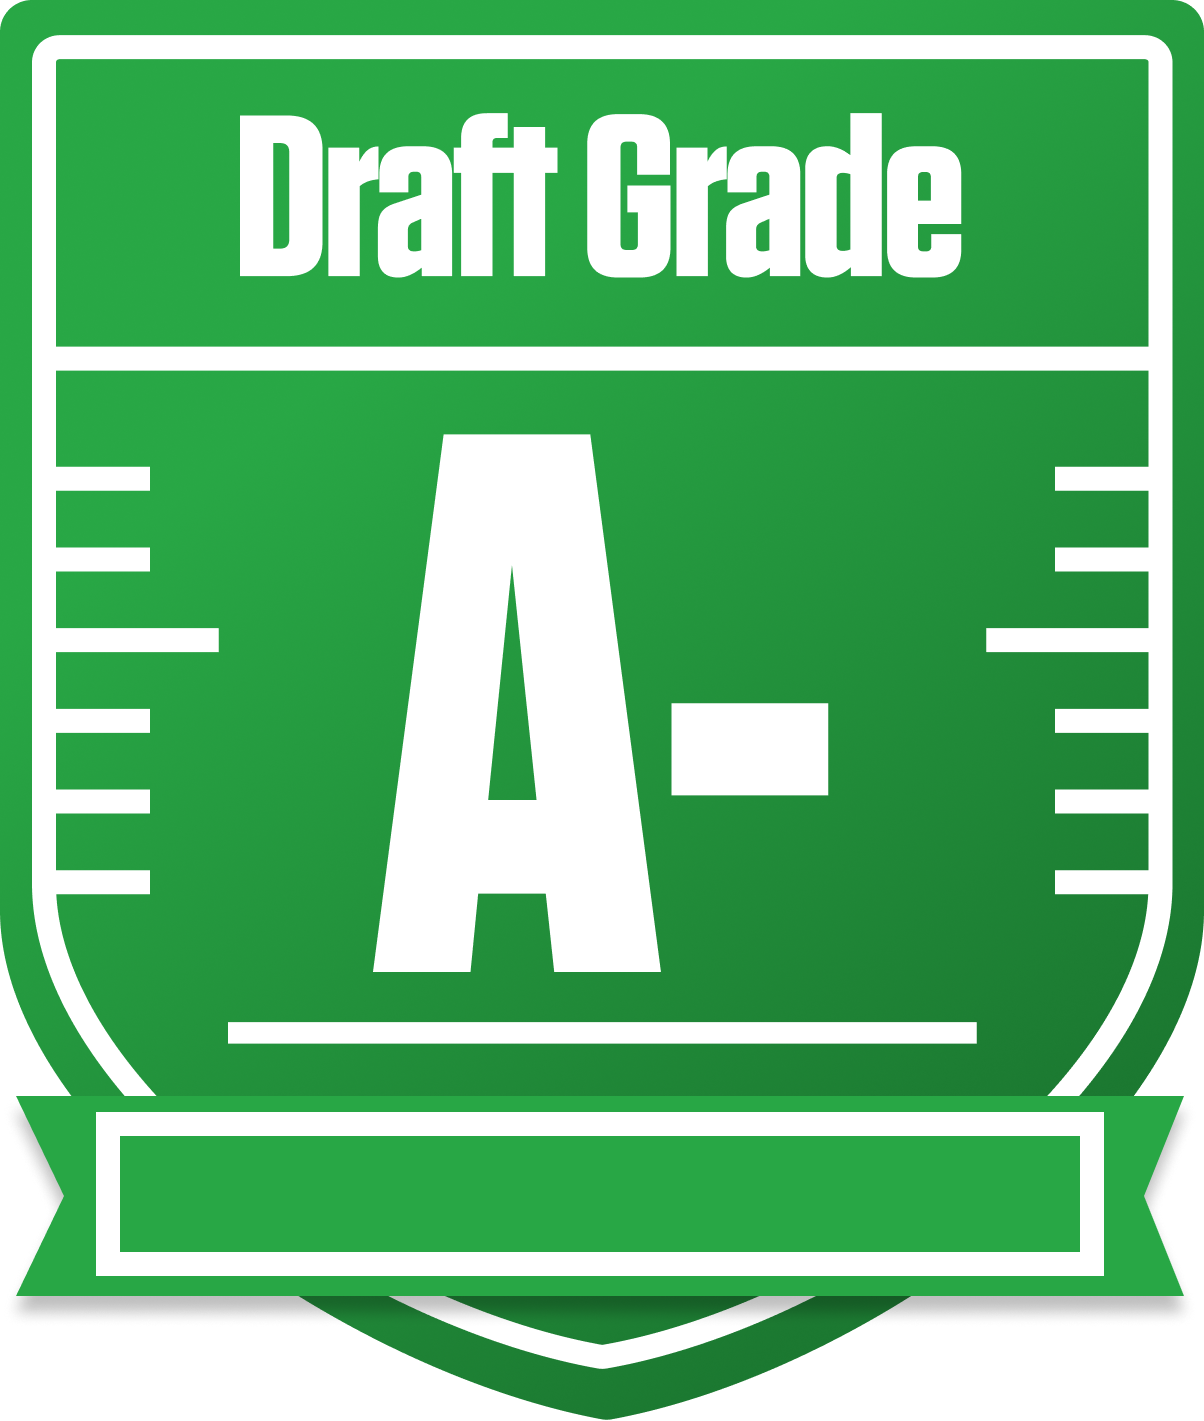

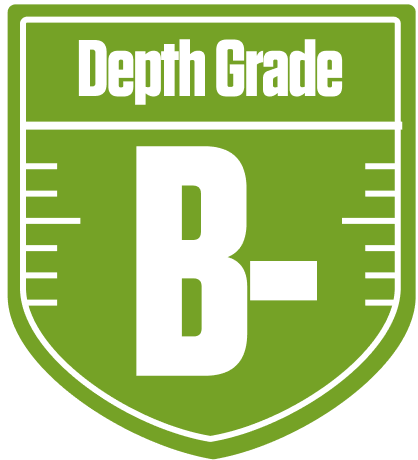


The Ditkas Draft Report Card Is Here - A Solid A- Grade in the CDBFFL
Howdy, fantasy football fan! Let’s dive into the The Ditkas squad from the 12-team CDBFFL, a half-PPR redraft league where roster construction and weekly decisions are king. Your team earned a strong overall grade of A-, showing you drafted well and built a competitive roster primed for a playoff push. With a projected starting lineup scoring over 100 points per week, you’ve got a solid foundation to win now.
This league’s standard setup with one QB, two RBs, two WRs, one TE, and a flex spot means balance is key, and you’ve done well there—especially at running back. But there are some glaring weaknesses lurking on the bench and at tight end that could bite you if not addressed. Your playoff chances hover in the good-to-great range, so a few tweaks and savvy waiver wire moves could push you over the top. Let’s break down where you shine and where you might want to hustle for upgrades.
Your Grades By Position
Quarterback


Running Back


Wide Receiver


Tight End


Team Defense


Kicker


Quarterback


Running Back


Wide Receiver


Tight End


Team Defense


Kicker


Playoff Chances
{"type":"doughnut","data":{"labels":["Make the Playoffs","Miss the Playoffs","Make the Playoffs","Miss the Playoffs","Make the Playoffs","Miss the Playoffs"],"datasets":[{"label":"Great Management","data":[73,27],"backgroundColor":["#3b82f6","#6c757d"],"borderWidth":3,"borderColor":"#fff"},{"label":"Good Management","data":[65,35],"backgroundColor":["#22c55e","#6c757d"],"borderWidth":3,"borderColor":"#fff"},{"label":"Average Management","data":[54,46],"backgroundColor":["#fbbf24","#6c757d"],"borderWidth":3,"borderColor":"#fff"}]},"options":{"responsive":true,"maintainAspectRatio":false,"backgroundColor":"transparent","cutout":"40%","plugins":{"legend":{"display":false},"tooltip":{"enabled":true,"backgroundColor":"rgba(0,0,0,0.8)","titleColor":"#fff","bodyColor":"#fff"}},"elements":{"arc":{"borderWidth":3,"borderColor":"#fff"}}}}
Position Upside Potential
Breakout potential by position - more stars indicate greater upside opportunity