
Team 13
Team 13
CDBFFL
Want a Spicier Take? Need a Little Encouragement? Try Changing the Tone of your Report!


Your Draft Report Card Is Here, Team 13 - Let's Break Down How You Did
Welcome to your personalized fantasy report for Team 13 in the CDBFFL! This is a 12-team half-PPR redraft league, so every pick counts and balance is key. Your team earned a solid C+ overall grade, showing some clear strengths but also areas that need attention if you want to make a serious playoff push. With a projected starting lineup scoring just over 94 points per week and a total roster projection near 150, you’ve got a decent foundation but room to grow.
Your playoff chances hover in the middle ground, with about a 37% average chance, climbing to 57% if things break your way. The league’s standard roster settings—one QB, two RBs, two WRs, one TE, and a flex—mean you need reliable starters and a strong bench to cover bye weeks and injuries. We’ll dive into your team’s positional strengths, weaknesses, and strategic moves to help you reach those playoffs and maybe even beyond. Let’s get into the nitty-gritty and see how Team 13 can turn those stars into wins!
Your Grades By Position
Quarterback


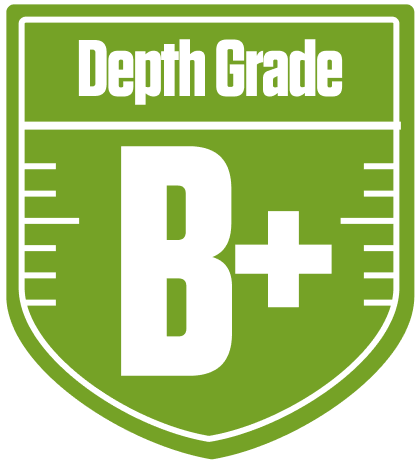
Running Back

Wide Receiver
Tight End

Team Defense
Kicker
Quarterback
Running Back
Wide Receiver
Tight End
Team Defense
Kicker
Playoff Chances
{"type":"doughnut","data":{"labels":["Make the Playoffs","Miss the Playoffs","Make the Playoffs","Miss the Playoffs","Make the Playoffs","Miss the Playoffs"],"datasets":[{"label":"Great Management","data":[57,43],"backgroundColor":["#3b82f6","#6c757d"],"borderWidth":3,"borderColor":"#fff"},{"label":"Good Management","data":[47,53],"backgroundColor":["#22c55e","#6c757d"],"borderWidth":3,"borderColor":"#fff"},{"label":"Average Management","data":[37,63],"backgroundColor":["#fbbf24","#6c757d"],"borderWidth":3,"borderColor":"#fff"}]},"options":{"responsive":true,"maintainAspectRatio":false,"backgroundColor":"transparent","cutout":"40%","plugins":{"legend":{"display":false},"tooltip":{"enabled":true,"backgroundColor":"rgba(0,0,0,0.8)","titleColor":"#fff","bodyColor":"#fff"}},"elements":{"arc":{"borderWidth":3,"borderColor":"#fff"}}}}
Position Upside Potential
Breakout potential by position - more stars indicate greater upside opportunity