
Qwik 6
Qwik 6
CDBFFL
Want a Spicier Take? Need a Little Encouragement? Try Changing the Tone of your Report!


Qwik 6 Draft Report Card Is Here - Let's Break Down How You Did
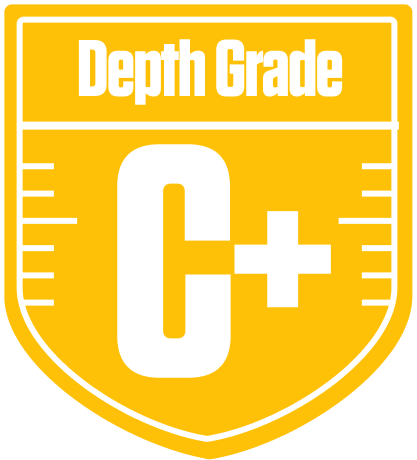
Welcome to your personalized draft analysis for Qwik 6 in the CDBFFL, a 12-team half-PPR redraft league. Your team earned a solid overall grade of C, reflecting a balanced but somewhat inconsistent roster. The league’s standard setup with one QB, two RBs, two WRs, one TE, and a flex spot means every position counts, and your team’s construction shows some clear strengths and weaknesses that will shape your playoff push.
Your quarterback spot shines bright with an A starter grade, thanks to Josh Allen’s elite production, but the bench QB situation leaves much to be desired. Running backs are a concern with a D+ grade overall, while wide receivers hold a respectable C grade, buoyed by strong starters but weaker depth. Tight end and touchdown scoring units show a mixed bag, with starters underperforming but bench players offering hidden value. Your playoff chances hover around 29% on average, so strategic moves and savvy waiver wire work will be key to turning this ship toward the postseason. Let’s dive deeper into what makes Qwik 6 tick and where you can find your edge this season.
Your Grades By Position
Quarterback


Running Back

Wide Receiver


Tight End

Team Defense
Kicker
Quarterback
Running Back
Wide Receiver
Tight End
Team Defense
Kicker
Playoff Chances
{"type":"doughnut","data":{"labels":["Make the Playoffs","Miss the Playoffs","Make the Playoffs","Miss the Playoffs","Make the Playoffs","Miss the Playoffs"],"datasets":[{"label":"Great Management","data":[46,54],"backgroundColor":["#3b82f6","#6c757d"],"borderWidth":3,"borderColor":"#fff"},{"label":"Good Management","data":[37,63],"backgroundColor":["#22c55e","#6c757d"],"borderWidth":3,"borderColor":"#fff"},{"label":"Average Management","data":[29,71],"backgroundColor":["#fbbf24","#6c757d"],"borderWidth":3,"borderColor":"#fff"}]},"options":{"responsive":true,"maintainAspectRatio":false,"backgroundColor":"transparent","cutout":"40%","plugins":{"legend":{"display":false},"tooltip":{"enabled":true,"backgroundColor":"rgba(0,0,0,0.8)","titleColor":"#fff","bodyColor":"#fff"}},"elements":{"arc":{"borderWidth":3,"borderColor":"#fff"}}}}
Position Upside Potential
Breakout potential by position - more stars indicate greater upside opportunity